If you’re a beginner considering building a PC, it’s crucial to pause and avoid the common pitfalls. These errors can range from budget misallocation to compatibility issues, and they can lead to frustration down the line. But fear not, I’m here to not only highlight these potential blunders but also offer practical solutions. For instance, setting a clear budget allocation for components, ensuring motherboard and CPU compatibility, and being cautious with CPU cooler installation are essential steps. Additionally, paying attention to details like thermal paste application, proper RAM installation, and case fan orientation can significantly impact your PC’s performance and longevity. So, before embarking on your PC-building journey, take a moment to heed these valuable insights.
Budget Planning is the Key
The biggest mistake beginners make is not defining a budget for each component. If your work is graphics-oriented, allocate 30 to 40% of your total budget for the graphics card, 20% to 25% for the CPU, and the rest for the motherboard, RAM, storage, case fan, and PSU.
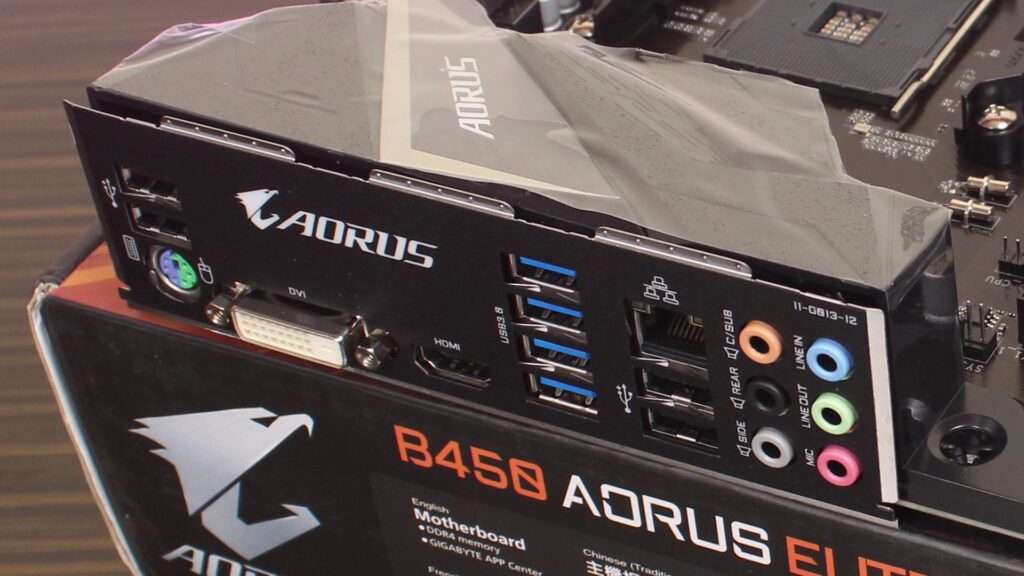
You can make compromises in some areas, like opting for cheaper RAM and skipping RGB lighting on the motherboard. Choose a budget or mid-range chipset motherboard based on your processor choice. Of course, your decision should primarily depend on the CPU. The cheaper the chipset, the weaker the VRM section on the motherboard, which actually powers the CPU.
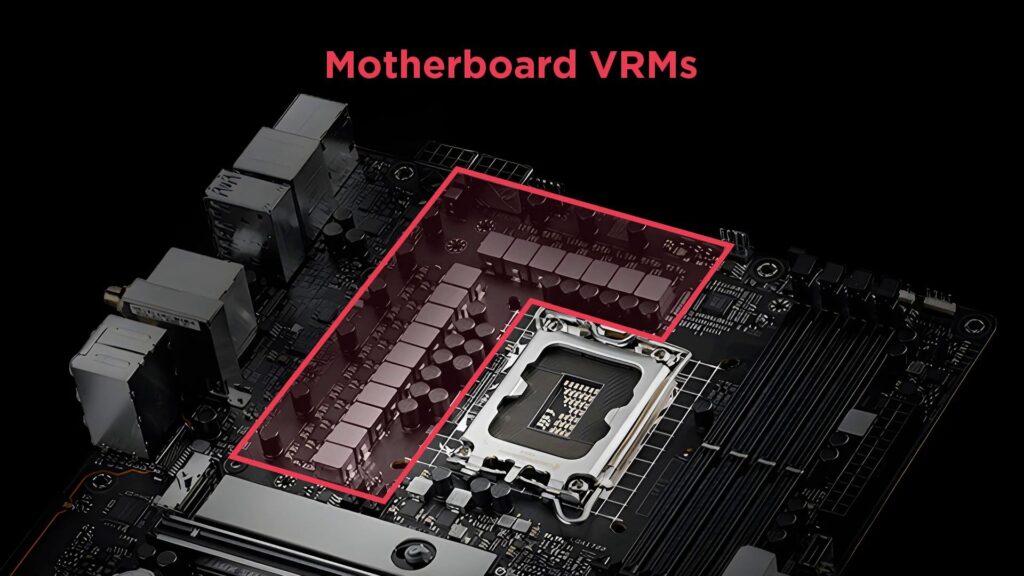
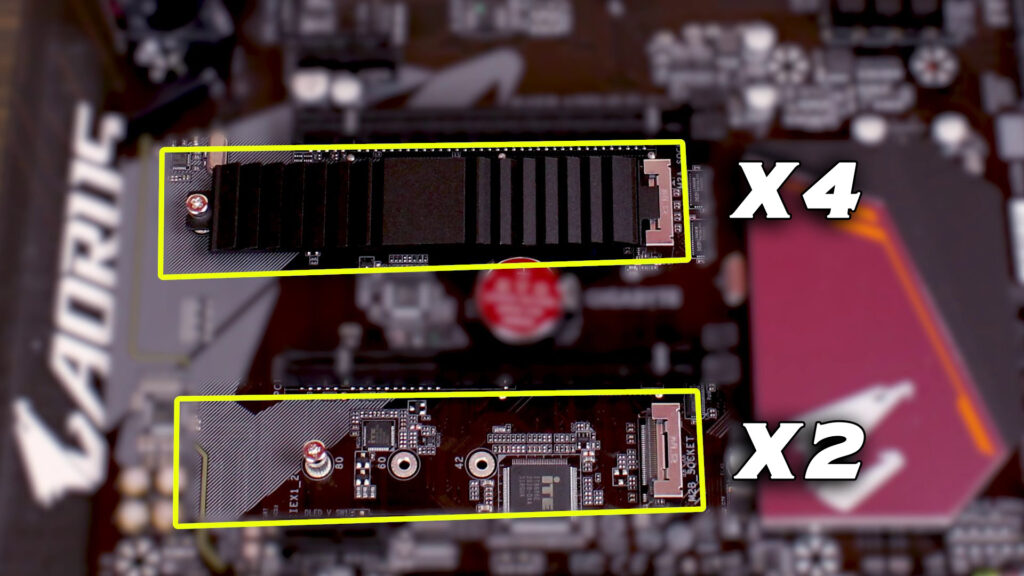
You’ll also get fewer PCIe lanes and PCIe slots may be limited. This can result in a shortage of SATA and NVMe slots, and it’s possible that you might have two NVMe slots, but one runs at x4 lanes while the other runs at x2 lanes. So, be sure to check the specs thoroughly.
CPU Cooler Considerations
Another common area for mistakes is when selecting a CPU cooler. Whether you’re going for a liquid cooler or an air cooler, the dimensions of your PC chassis matter a lot. If it’s too small, a large air cooler won’t fit. Even with liquid cooling, if you’re getting, for example, a 360mm cooler, make sure your cabinet supports it. Cabinet specifications usually mention this, but if you’re unsure, have a chat with the seller about where you’re buying it from.
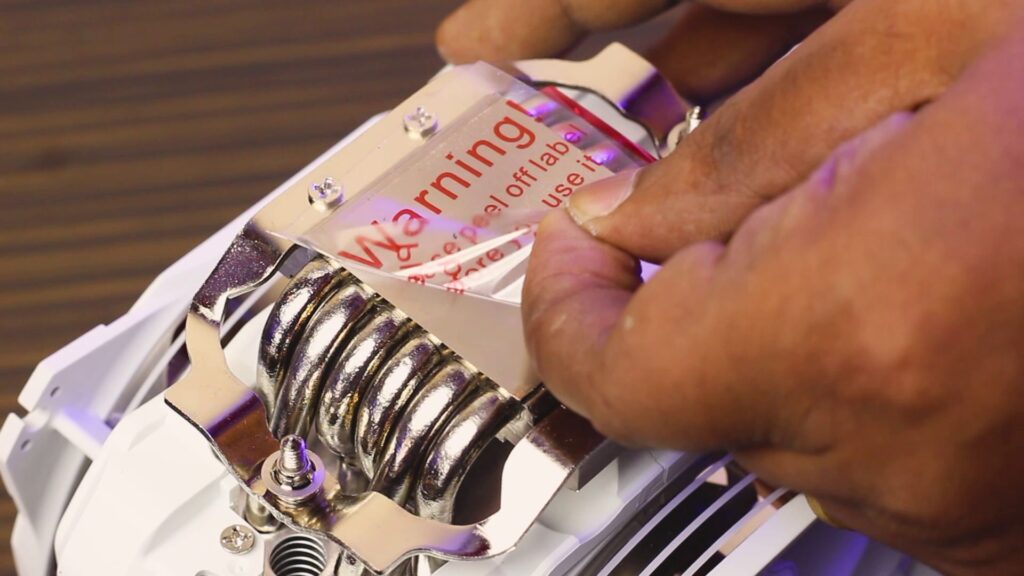
One mistake that specifically occurs with CPU coolers is that people often forget to remove the plastic protective film underneath them. This can lead to the computer overheating. Depending on the cooler, this film can be highly visible or sometimes just completely transparent. So, before installing it, make sure to check and remove any plastic if it’s there.
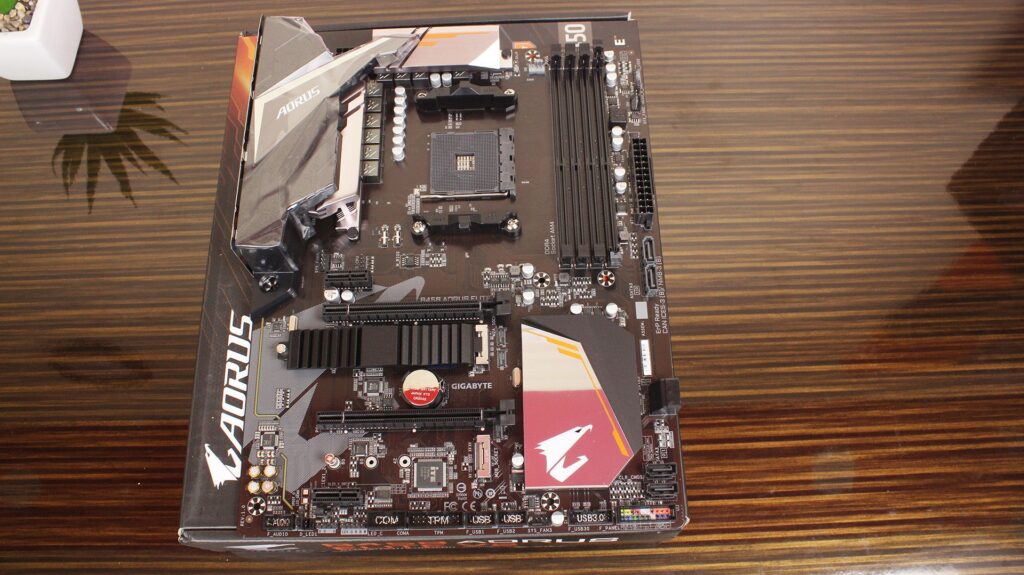
Motherboard Matters
Next is motherboard compatibility, and even experienced builders often make mistakes here. To avoid errors, use tools like PCPartPicker. If there’s any mistake in your component selection, this tool will point it out. It can even tell you if a particular processor requires a BIOS update with a specific motherboard. You won’t be able to do a BIOS update yourself, so when buying a new motherboard, inform the seller that you need it updated to work with your processor.
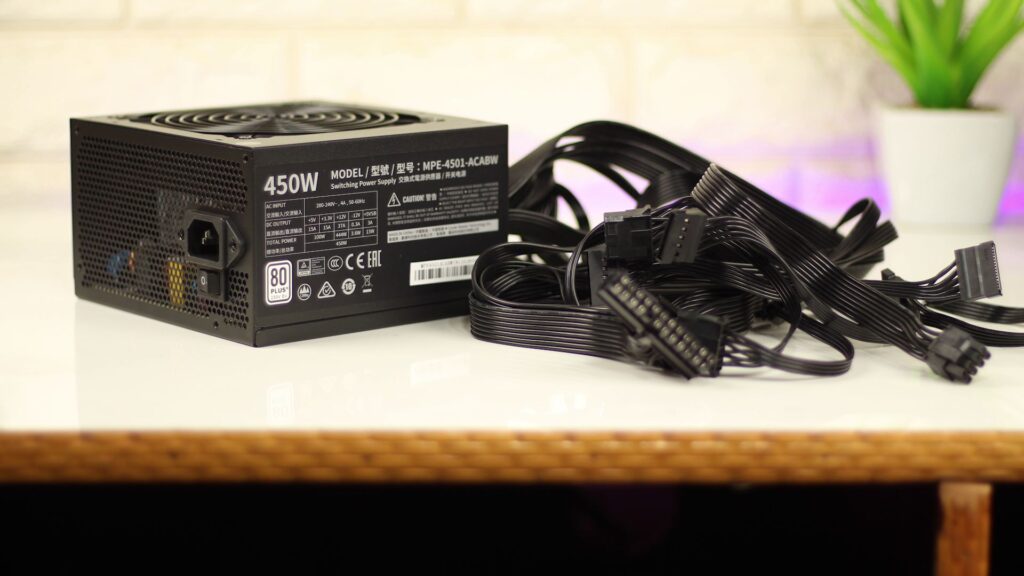
Power Supply Selection
Before ordering parts, use a Power Supply Calculator to determine the wattage required for your components. This way, you won’t run into problems later. And please, avoid cheap and local power supplies; always go for a reputable brand. If there are efficiency ratings available such as 80 Plus bronze, Gold, Silver or platinum, that’s even better.
Don’t Forget Thermal Paste
Many times, people forget to apply thermal paste on the CPU, which you should not skip. Without thermal paste, the heat transfer from the CPU die to the cooler won’t be effective. Some coolers come with pre-installed thermal paste, so you might not need to apply it separately. If you do need to apply it, don’t use too much. A pea-sized amount of thermal paste is usually sufficient, or you can use an “X” pattern. Keep it simple; don’t overdo it.
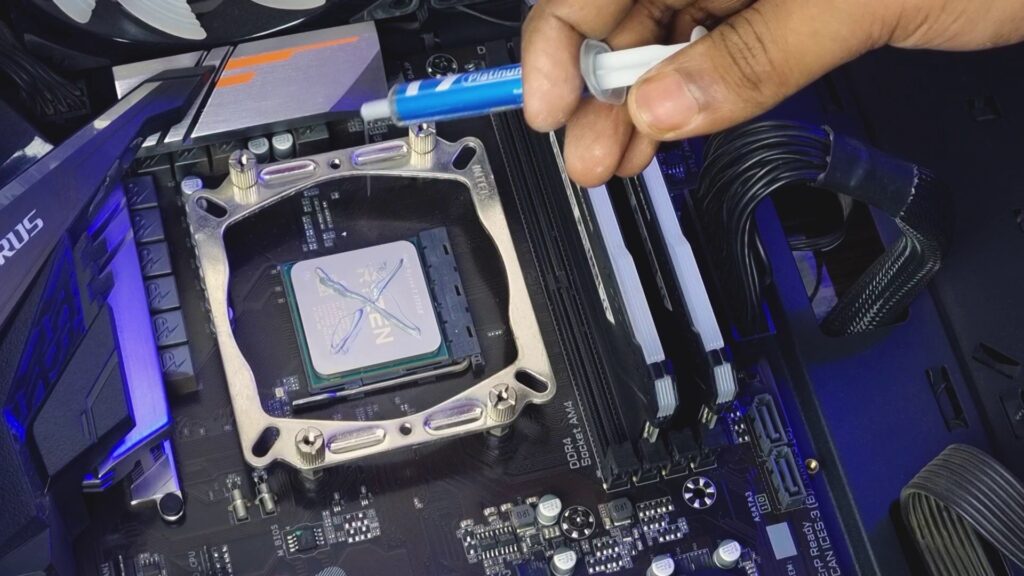
When installing the cooler, always tighten the diagonal screws to ensure even pressure. Don’t tighten one side too much in one go. Gradually tighten them diagonally. This reduces the risk of damaging the motherboard.
I/O Shield and Cable Connections
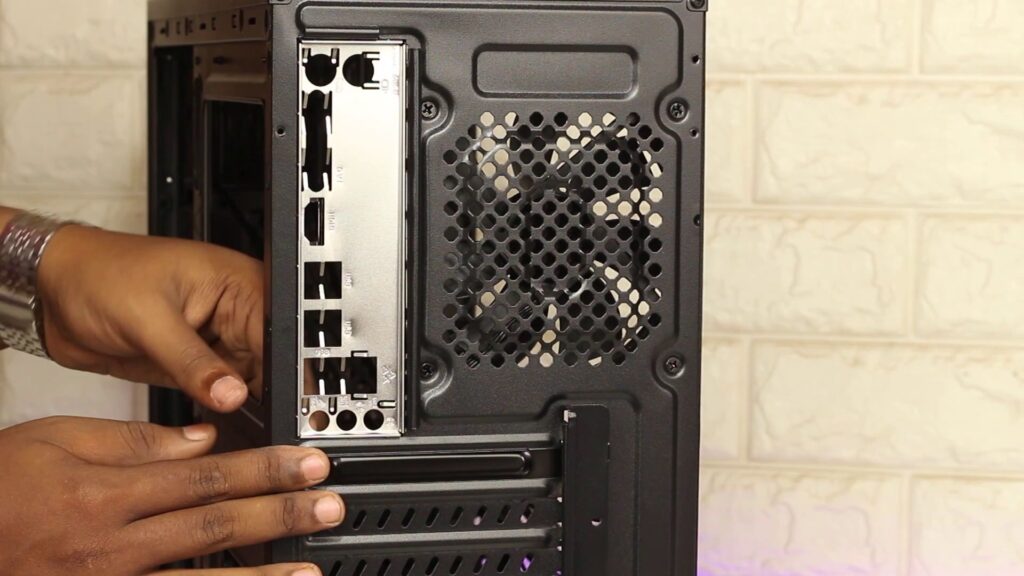
Now, let’s talk about two small things. First, when you’re inserting the motherboard into the chassis, always remember to install the I/O shield if you have one. Don’t forget it; you won’t be able to put it in later. It doesn’t go on from the outside. In more expensive motherboards, it may come pre-installed.
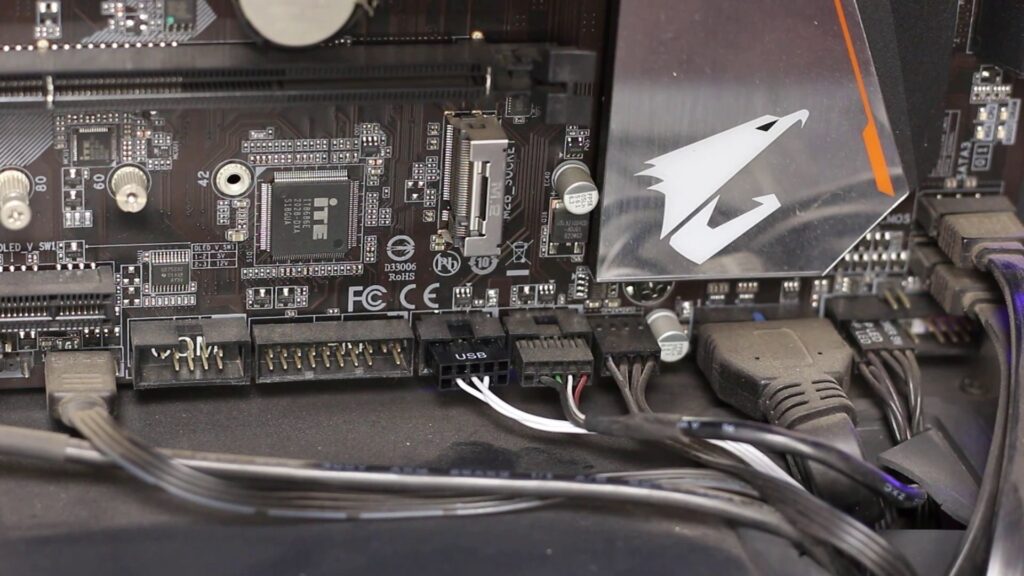
Next, pay close attention when connecting the USB headers and power headers. Notice the notches; they should match, or you might damage the connectors. And when connecting the front I/O connectors, follow the diagram properly. Incorrect wiring will definitely prevent the computer from starting.
Storage Solutions SATA and NVMe
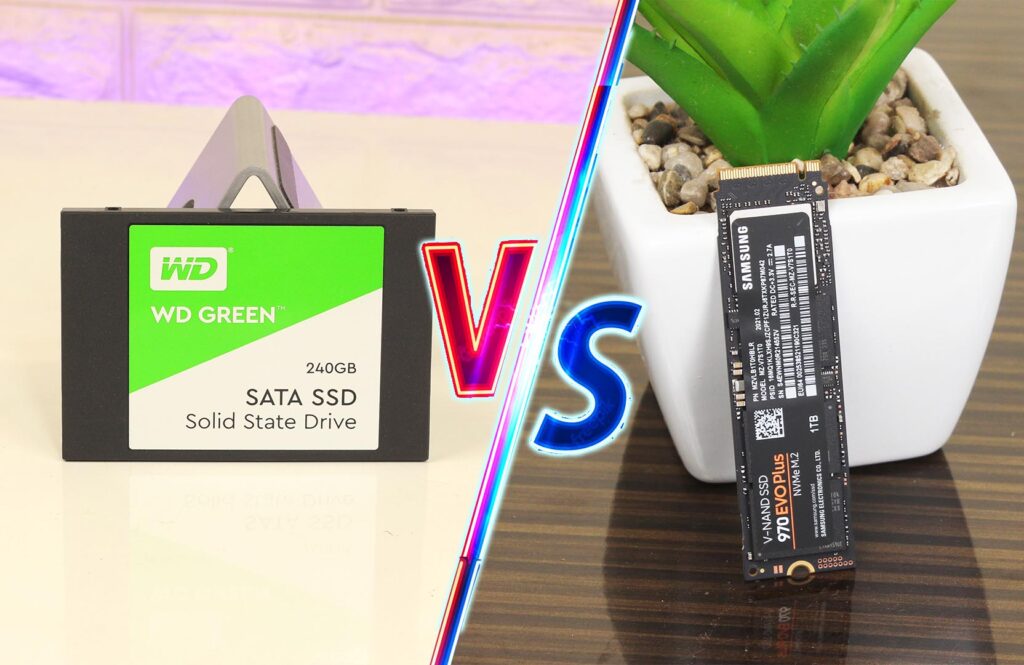
Now, let’s talk about SSDs. If you’ve decided on a SATA SSD, that’s fine. But if you’ve chosen an M.2 SSD, you should definitely read the article about it. M.2 SSDs come in two types: M.2 SATA and M.2 NVMe. Here are the connectors for both. Be sure to check the motherboard specs carefully before purchasing. M.2 SATA does not fit into M.2 NVMe slots.
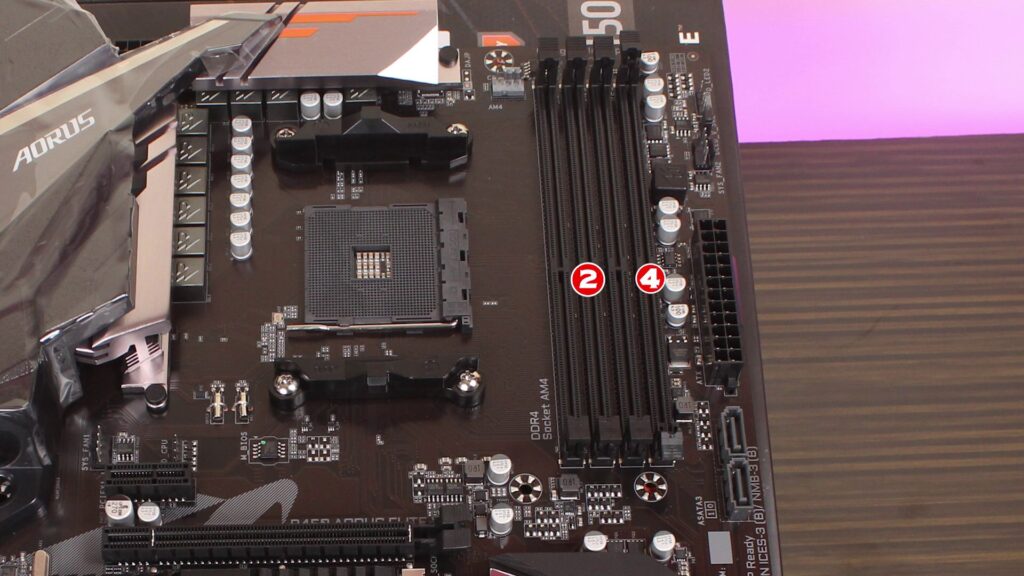
RAM Installation For Optimal Performance
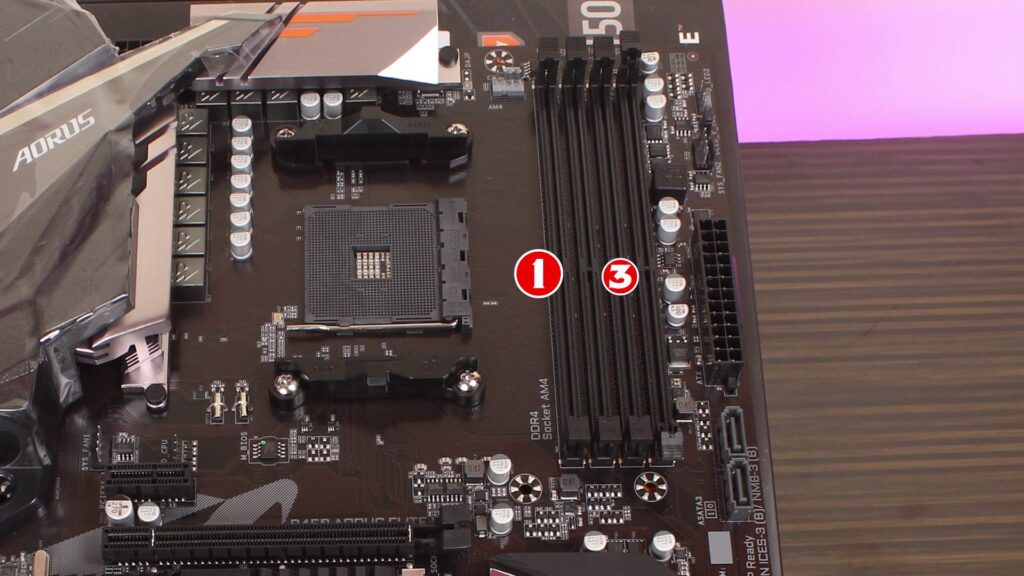
When it comes to RAM installation, if you’re using multiple RAM sticks, always buy a RAM kit to avoid compatibility issues. Install those RAM sticks in a dual-channel configuration. How do you do that? If you have two RAM sticks and your motherboard has four RAM slots, always install them in slots 1 and 3 or slots 2 and 4.
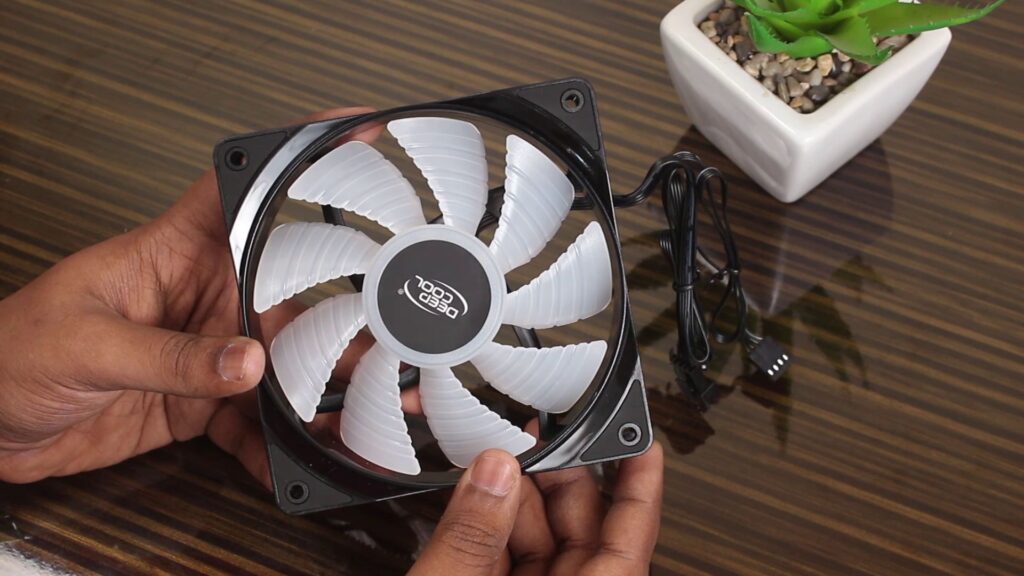
Case Fan Placement
Case fans are also crucial. Let’s say you’re installing six fans: three for air intake and three for exhaust. If all the fans are blowing in the same direction, you’ll create a vacuum inside the case, and proper airflow won’t occur. For intake fans, consider using static pressure fans if you have a mesh in front of them, which helps keep dust out of the system.
Final Assembly Don’t Skip
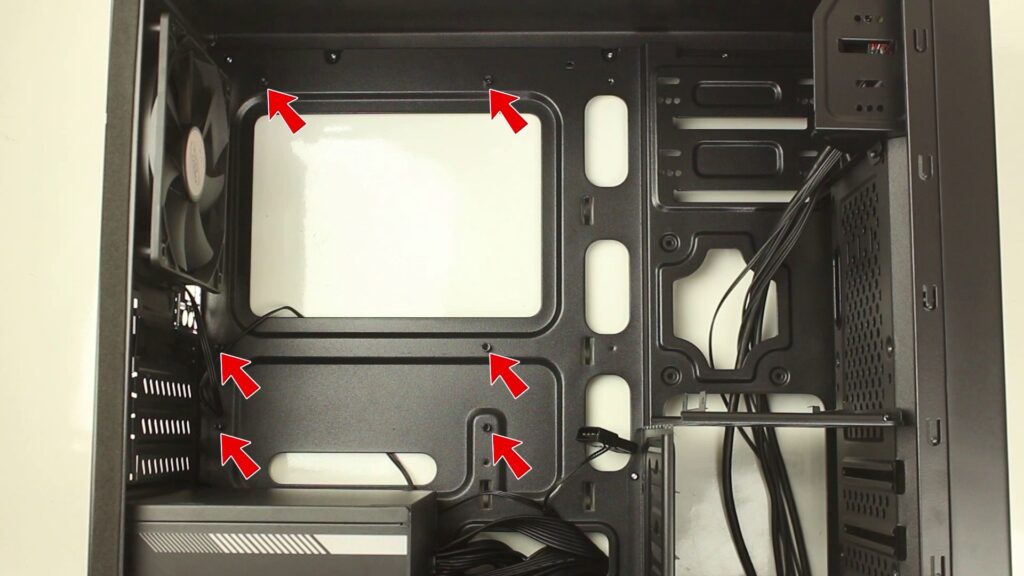
Lastly, when you install the motherboard in the PC case, don’t forget to use standoffs. They elevate the motherboard above the case, preventing it from shorting out. Nowadays, they generally come pre-installed, but if they aren’t, you’ll usually find them in the same bag as the screws provided with the chassis.
Full Video In Hindi
In the Concluding Lines…
These key considerations are important when starting your PC-building journey, and they can save you as beginner to feel regrets after that mistake. Building a PC is an exciting but complex process, and ignoring these factors can lead to frustrating and costly errors in the future. That’s why I’ve created this guide – to provide guidance and insight that will help you avoid these pitfalls. By paying attention to these details and following the steps, you can begin your PC-building adventure with confidence, knowing that you’re well-prepared to build a system that delivers optimal performance.