Frequently, when assembling a PC, a prevalent issue encountered is the computer not turning on. If you’re facing this problem, there are critical initial checks to perform. Often, the culprit isn’t a faulty component but a simple oversight or mistake. In this guide, we’ll address this common dilemma, providing essential steps to diagnose and potentially resolve the PC not turning on issue. By systematically verifying peripherals, power supply, RAM, and CPU installation, you can rule out common mistakes. We’ll also touch on BIOS compatibility, a vital consideration before building a PC. This guide aims to help you pinpoint the root cause and get your computer up and running efficiently.
Peripherals and Power Supply Cause PC is Not Turning On Problem
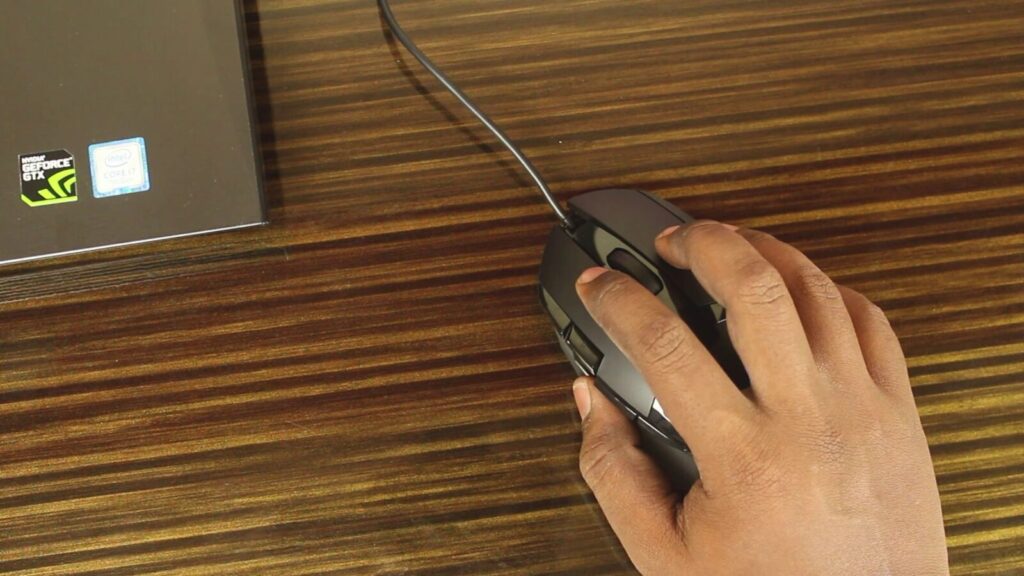
When confronted with the frustrating issue of a PC not turning on, it’s essential to embark on a systematic troubleshooting process. First and foremost, disconnect all peripherals, including the mouse and keyboard. Surprisingly often, these seemingly innocent devices can be the culprits behind a computer’s refusal to power up. By eliminating these potential culprits, you can move on to more critical checks.
Also Read: Wired Vs Wireless Mouse: Which is Best For Gaming
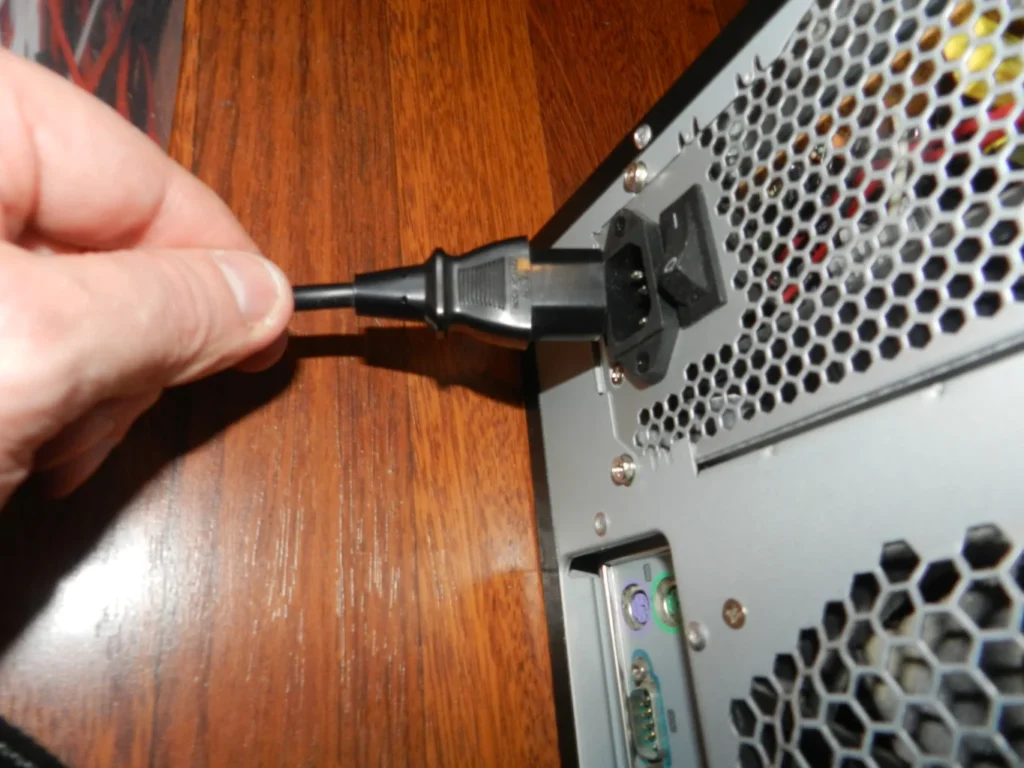
The next step in your quest to resurrect your computer is inspecting the power supply. This often-overlooked component can be the source of the problem. Ensure that the power supply’s switch on its body is in the “on” position. This simple oversight can lead to unnecessary troubleshooting in other areas. Additionally, don’t forget to verify that the power cord connecting the power supply to the wall outlet is securely plugged in. A loose connection here can disrupt power delivery, resulting in the computer not turning on.
Don’t Miss: How to Replace Or Upgrade Power Supply?

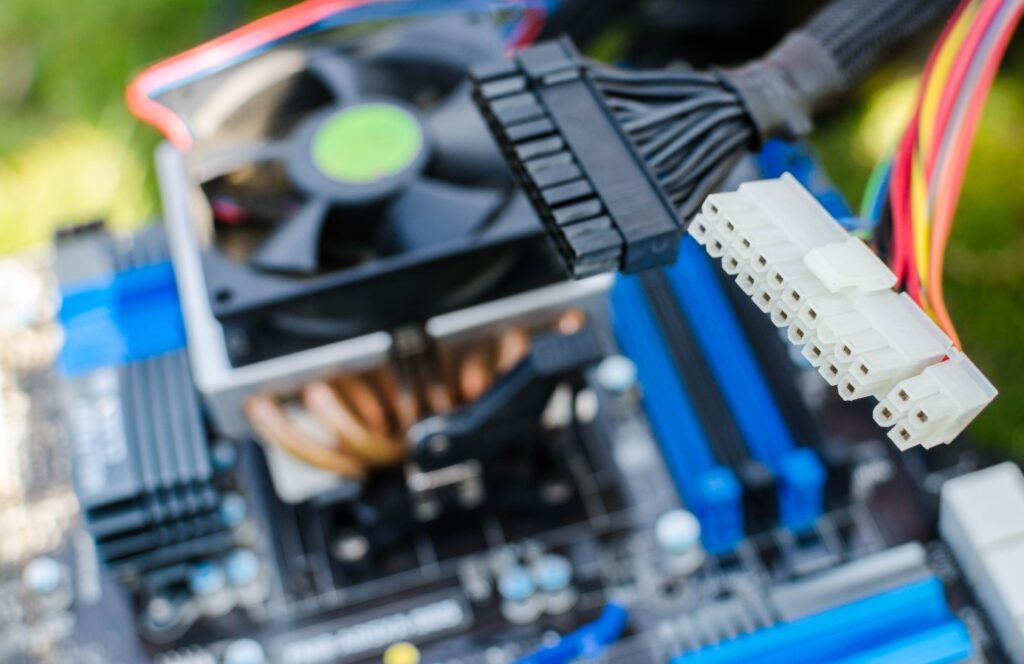
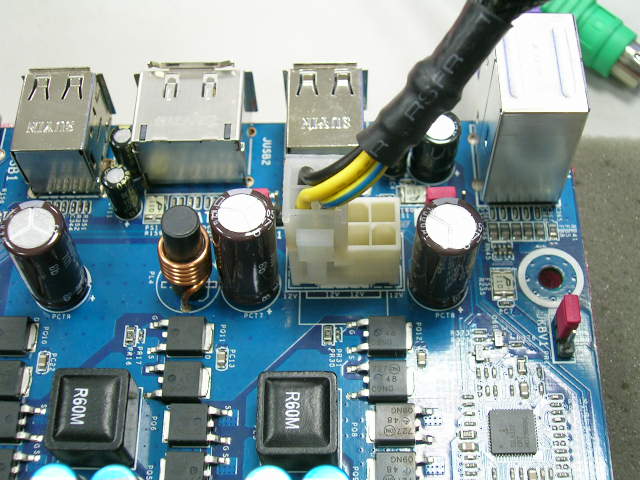
Delve deeper into the power supply by examining its connectors. Start with the 24-pin ATX connector, which should be properly seated on the motherboard. Similarly, check the 8-pin CPU connector to ensure it’s correctly connected. Don’t overlook the SATA power connector for storage devices, as problems in this area are common causes of a PC or computer failing to turn on. By methodically addressing these potential issues, you can increase your chances of diagnosing and resolving the problem when your PC is not turning on.
Verifying RAM and Graphics Card
Continuing the troubleshooting process when your PC is not turning on, the next step involves checking your RAM. Begin by ensuring that the RAM is correctly installed. Align the notch on the RAM stick with the slot and firmly press it down. If the RAM is properly fitted, the locks should automatically engage. Now, power on your computer to see if it turns on.
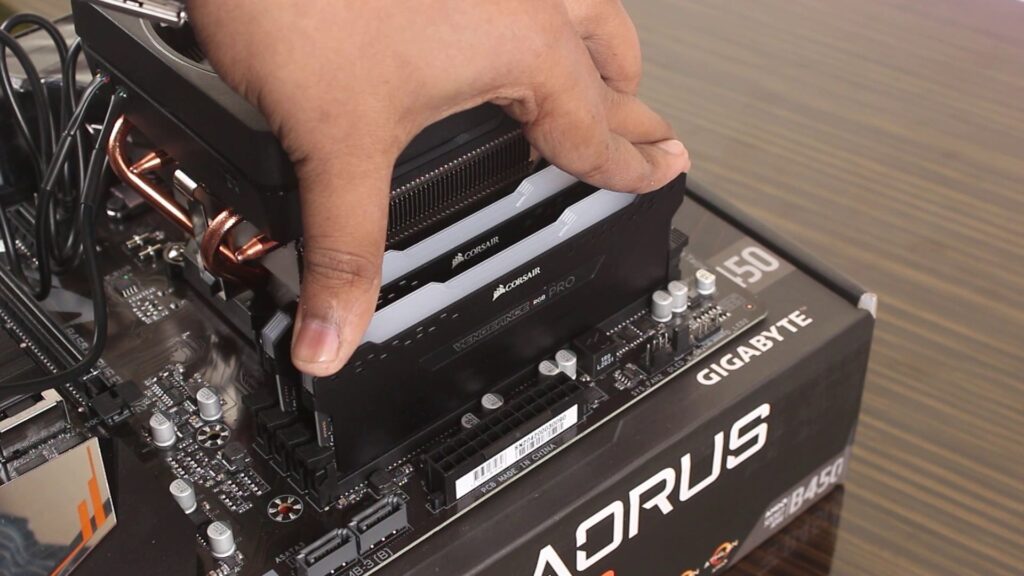
If the PC still doesn’t respond and you have two separate RAM sticks in your system, remove one of them and try turning on the system. If it powers up, the stick you removed may be defective. To confirm, reinstall it and remove the other one. If the PC remains unresponsive even after checking the RAM, there could be an issue with the motherboard, or the two RAM sticks may not be compatible with each other.
We Also Have: Can You Use 4GB And 8GB RAM Together?!
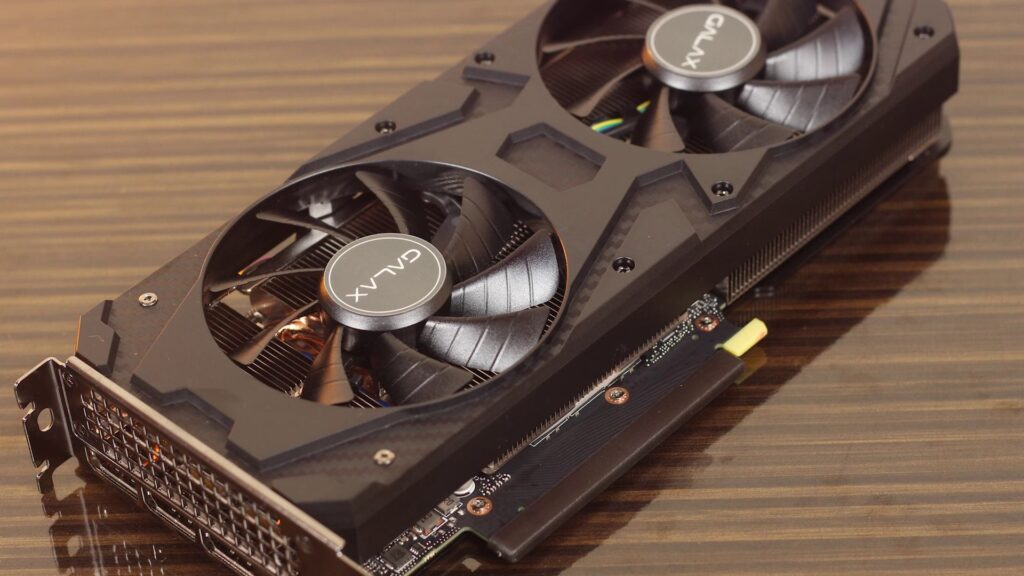
Moving forward, if the PC is still not turning on, it’s essential to examine the graphics card. If your CPU includes integrated graphics, remove the dedicated graphics card and attempt to turn on the system. Graphics cards can sometimes introduce issues that prevent the computer from powering up. However, if your system lacks integrated graphics, you’ll need to test with an alternate graphics card because, without integrated graphics, you won’t receive any display output.
Also Read: Mid-Range Graphics Card Should You Buy in 2023?
Troubleshooting CPU and Cooler Installation
If, despite all prior troubleshooting efforts, your system stubbornly refuses to post or turn on, it’s time to investigate the compatibility and installation of your processor. Start by verifying that the processor you purchased is indeed compatible with your motherboard. Ensure it’s securely seated in the processor socket, as improper installation can be a common culprit in such situations.
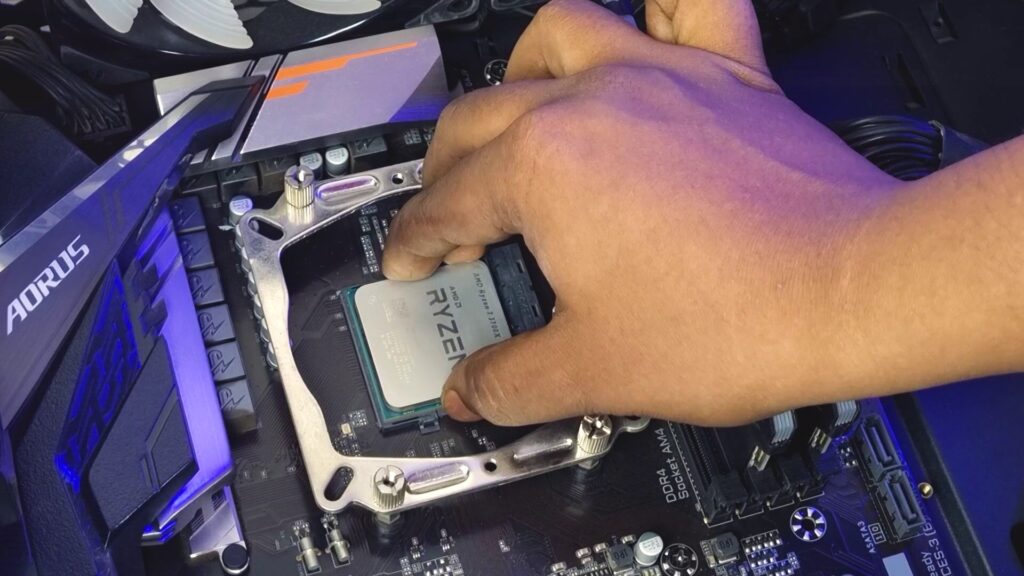
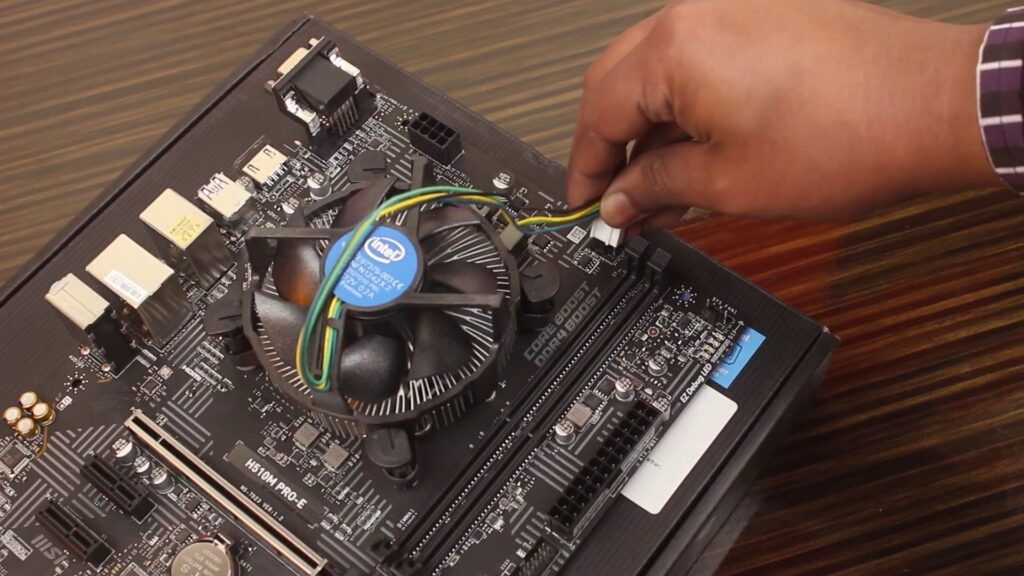
To proceed, try the following steps: Begin by removing the CPU cooler, carefully take out the processor from its socket, and then reseat it in the socket. Afterward, reinstall the CPU cooler with meticulous attention. Confirm that the CPU fan header is correctly connected to the respective CPU fan header on the motherboard.
It’s worth noting that, occasionally, even if you’ve correctly installed the processor, not all of its pins may establish proper contact with the motherboard, potentially causing the computer not to turn on. Hence, this step becomes essential in troubleshooting.
By methodically addressing these processor-related issues, you can eliminate one more potential cause for your PC not turning on or posting. This systematic approach will help you pinpoint and resolve the issue that’s been hindering your computer’s functionality.
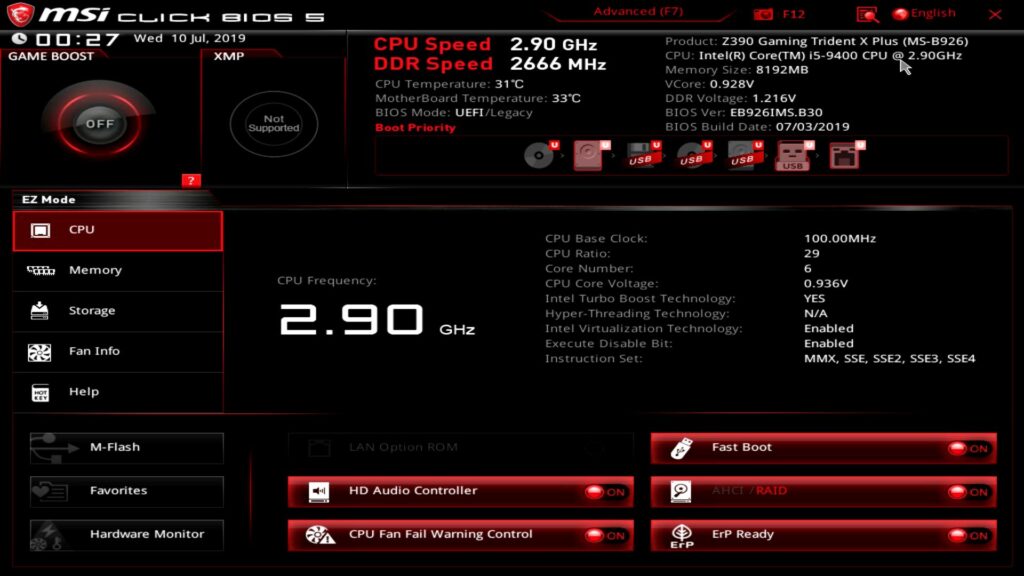
The Importance of BIOS Compatibility
one crucial but often overlooked aspect is ensuring the compatibility between your processor and motherboard. Many times, achieving this compatibility sometimes requires updating the BIOS, a fundamental software that bridges the communication between hardware components. If you neglect this step, your system may fail to POST, or Power-On Self Test, essentially preventing your computer from booting up.
An important point to understand is that if your chosen processor isn’t compatible with the motherboard right out of the box, you won’t be able to update the BIOS yourself, at least not without a compatible CPU. This can be a tricky situation to navigate, especially for those new to PC building. In such cases, you’ll need to use a processor that’s compatible with your motherboard’s current BIOS version to perform the update.
One option is to contact the shop or retailer from which you purchased the motherboard. Inform them about the compatibility issue, and they may be able to assist you by updating the BIOS before you even receive the motherboard. This can save you a significant amount of hassle and ensure a smoother building process.
To preemptively avoid such complications, it’s wise to do your research before buying a motherboard and processor. Websites like PCPartPicker provide a valuable resource to check compatibility between components. Pay particular attention to whether your chosen processor requires a BIOS update to function seamlessly with the motherboard. If it does, inform the seller where you intend to purchase the motherboard, making it clear that you need them to provide a BIOS update service if required.
However, if you find yourself with a motherboard that lacks the necessary BIOS update, and the seller does not offer assistance, you’ll need to take a more hands-on approach. This entails acquiring a compatible processor, updating the BIOS yourself, and then finally installing the more powerful and expensive processor that was your initial choice.
It’s worth noting that some motherboards come equipped with a “flashback” option, which allows you to update the BIOS using any processor. Nonetheless, this feature is more common in higher-end motherboards, so lower-end models may not provide this convenient option. Remember without proper BIOS version that can support your processor your PC will not turn on.
Identifying PCIE Hardware Issues
Continuing the troubleshooting process when your PC is not turning on, it’s essential to consider the impact of any additional add-on cards in your system, such as a sound card or network card. In some instances, these supplementary components can be the source of the problem, hindering your computer from powering on or completing the POST (Power-On Self Test).
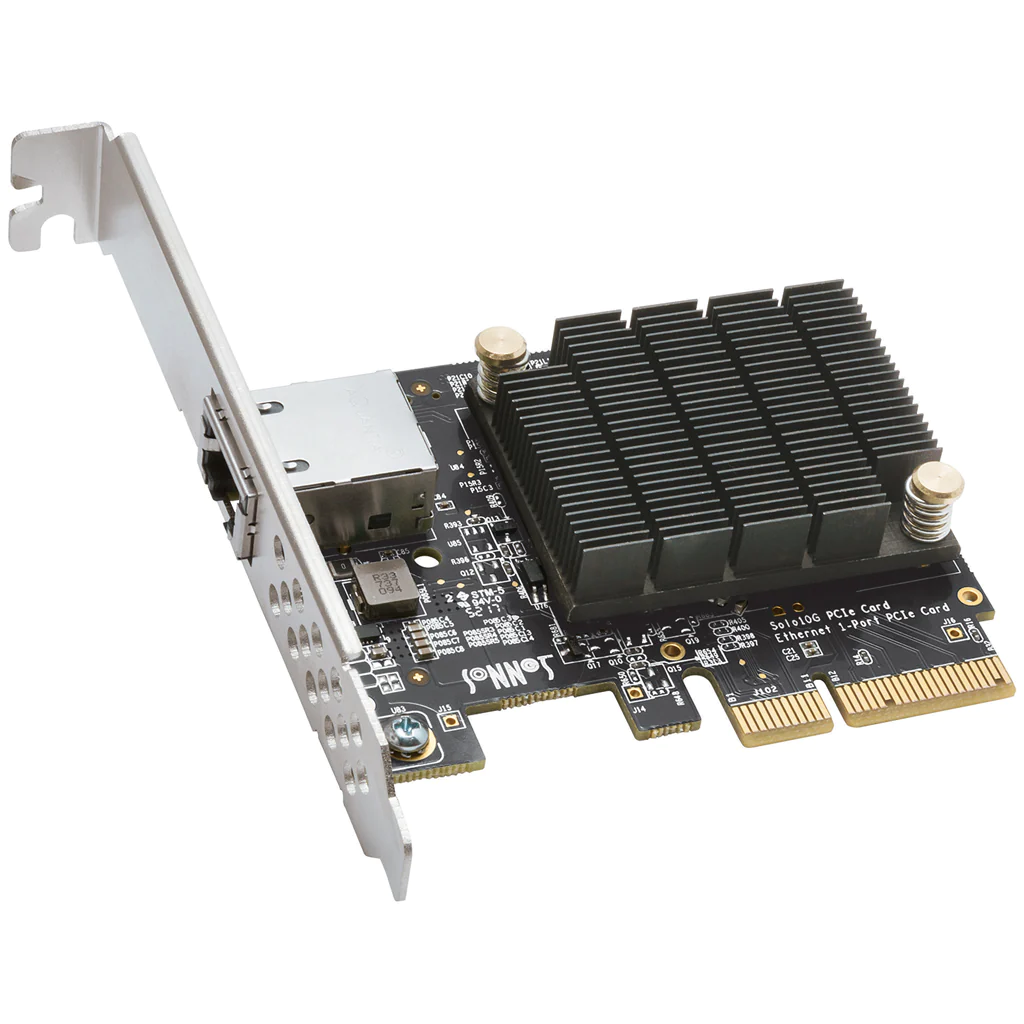
To address this potential issue, you should remove these add-on cards from your system and then attempt to power on the computer. More often than not, these cards can be defective or improperly seated, leading to disruptions in the booting process. By eliminating these variables, you can determine whether one of these add-on cards is responsible for your PC not turning on or failing to complete the POST process.
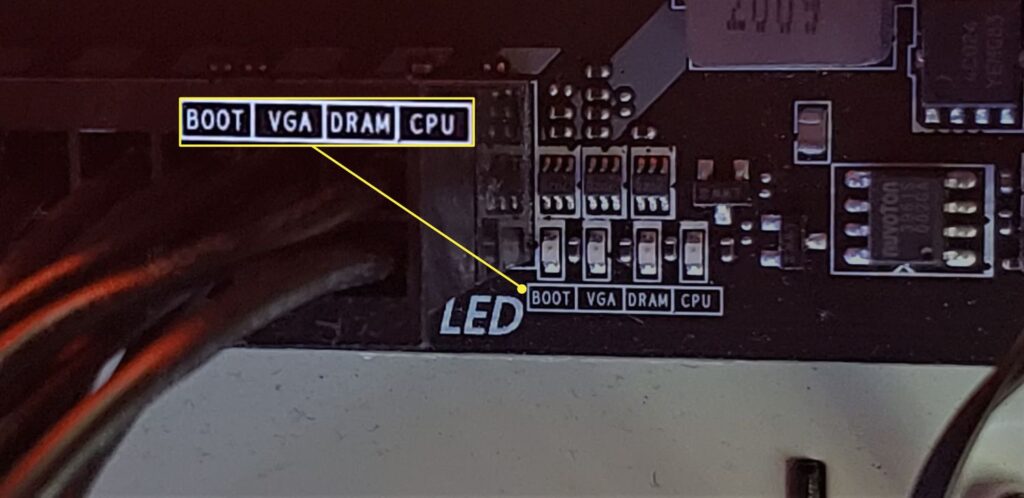
Identifying Hardware Issues with Diagnostic Lights
If everything fails and your PC still isn’t turning on, it’s possible that there’s a hardware issue with one of the components you purchased. Modern motherboards often come with built-in diagnostic lights that can help you identify where the problem lies, whether it’s with the RAM, CPU, or graphics-related. The specific meaning of these lights varies, so consult your motherboard’s manual to interpret them.
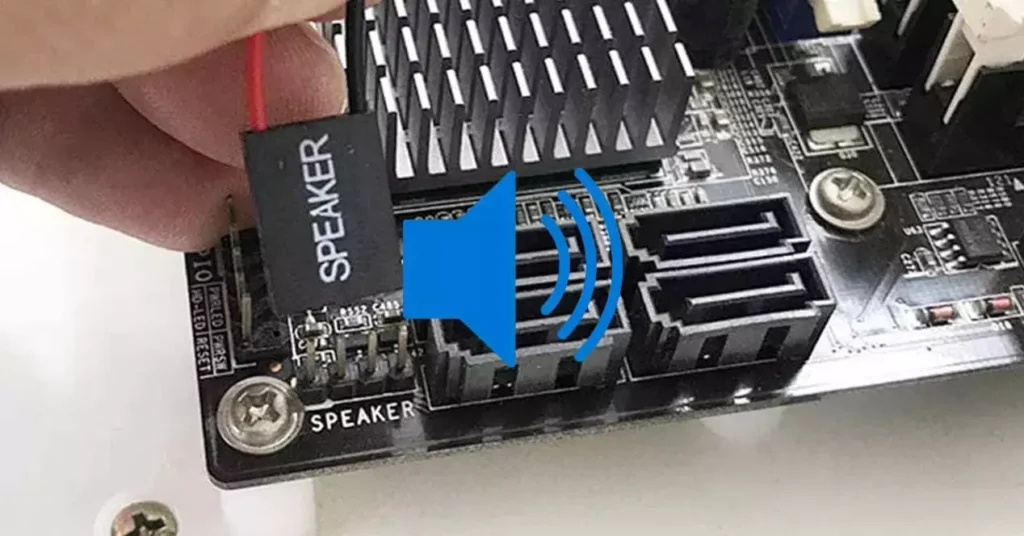
Understanding Beep Codes for Error Diagnosis
Additionally, all motherboards provide beep codes for error messages, but not all motherboards come with integrated buzzers for these codes. You may need to install a separate motherboard beeper to hear these beep codes. Just like the diagnostic lights, the meaning of the beep codes can be found in your motherboard’s manual. They can be handy for pinpointing issues with components like RAM, the motherboard, the processor, or the GPU. So if your PC or computer is not turning on you can diagnostic the issues with these tools.
In The Concluding Lines…
These are the steps you can follow to solve the problem that the PC is not turning on. There are lots of things to do. Try them one by one. If none of these works then you either need to claim a warranty or return the components. Depending upon where you have bought them.