It’s been a while since I made a lab bench power supply with my old computer power supply. It has two individual channels both possessing around 260W of power output capability. That’s great but the one big disadvantage is that two individual channels are not isolated from each other as they both basically share the same power source – the PC power supply. If anything goes wrong with that, the whole system breaks down. So, as a spare and sometimes power something in an isolated manner, I prefer to have one that doesn’t share anything with anyone. So, without further ado, let’s DIY a cheap bench power supply that is fully modular so that every beginner can afford and build it with some basic knowledge about electronics.
Read Now: DIY Dual Channel Variable Lab Bench Power Supply 30V 10A 300W Build & Test
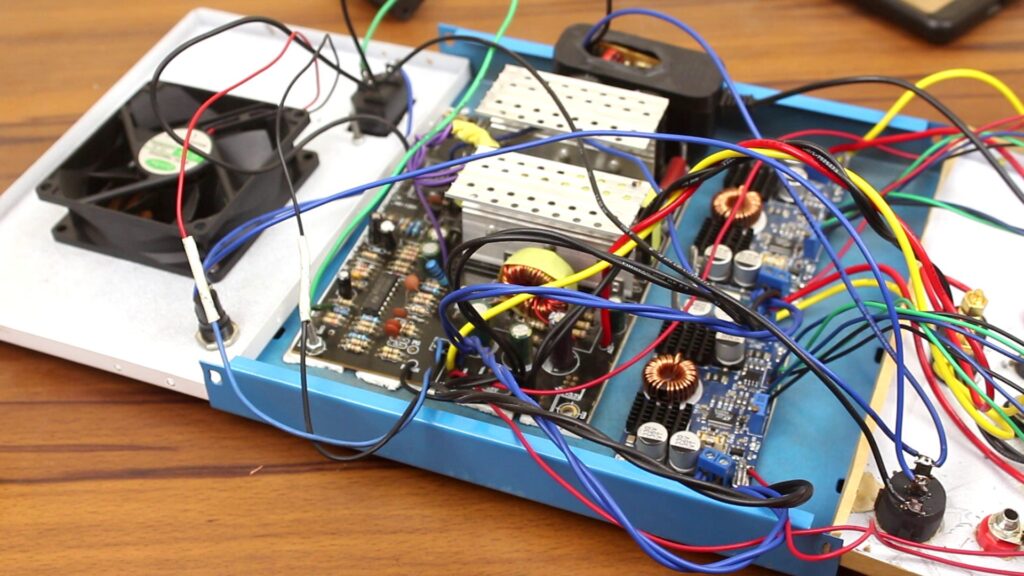
Watch the Video: Warning… Not For Everyone!
Here in this project, we are dealing with 220V AC mains. Please be careful with it. It’s lethal. If you have no idea what you are doing and don’t have knowledge about safety then try not to replicate this project. Or do this under expert supervision.
Choosing the Power Source
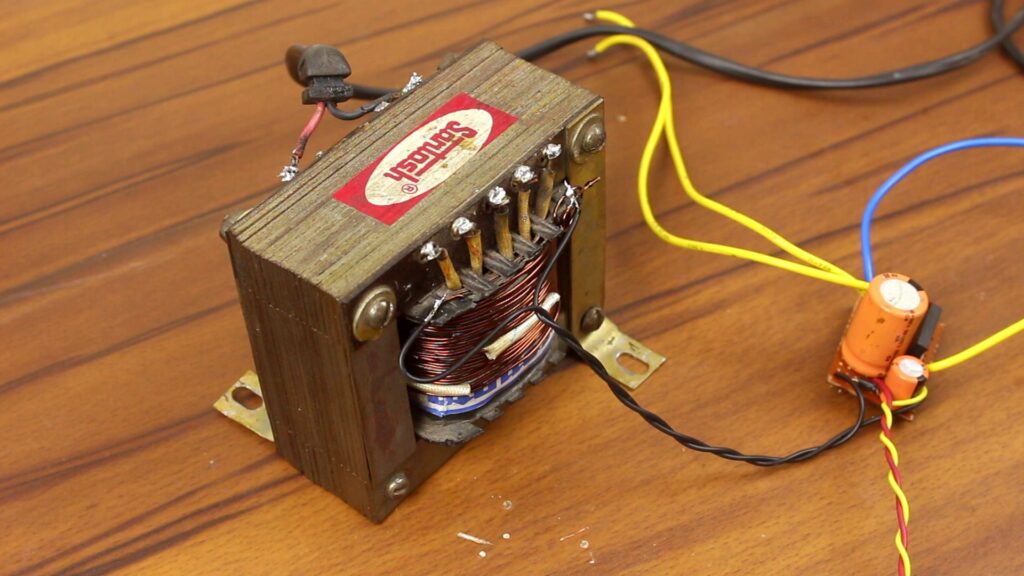
Selection of the power source is important because ultimately at the end of the day that, actually decides the capability of this DIY cheap bench power supply. This time instead of Switch Mode Power Supply, I am going with a big and bulky Transformer that basically converts the 230V AC to 12V AC at 5A of current output capability. Maximum the transformer could handle 12V × 5A = 60W of power. Enough for most of the scenarios. As this is a center tap transformer, so we can take 24V on these terminals which Oscilloscope also confirms (As shown in the image below).

Now obviously, AC 24V can’t be used to power any circuits. We first need to convert this voltage to DC and need to regulate them. Let’s, begin with the conversation. With a full-bridge rectifier and a 2200UF filter, the capacitor could do the job just fine.
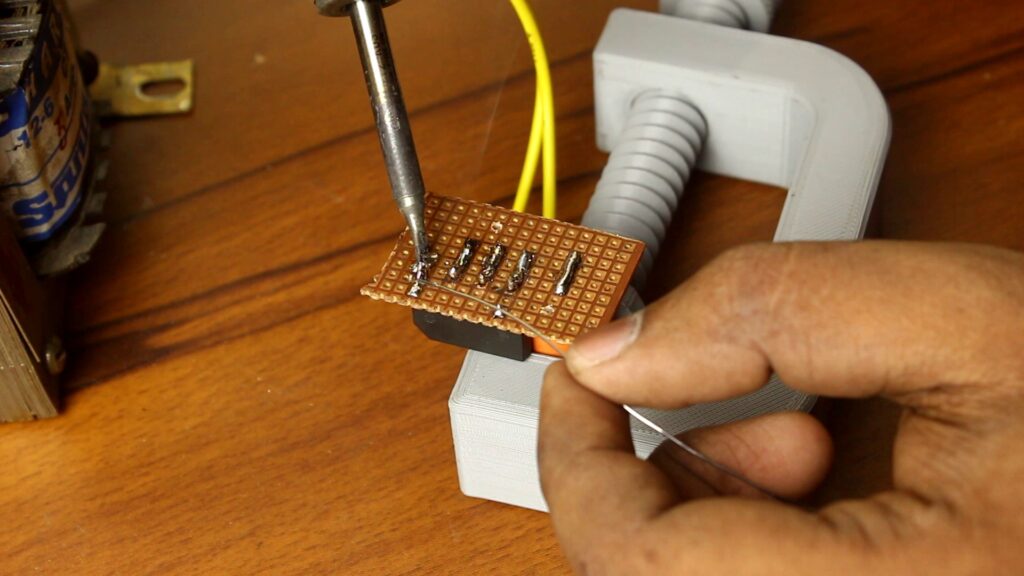
How to Regulate the Voltage and Current
From the Transformer, after converting from AC to DC, I’m getting around 37 V at the output. Now let’s regulate the voltage and current at the output. This could easily be done with this Buck converter.
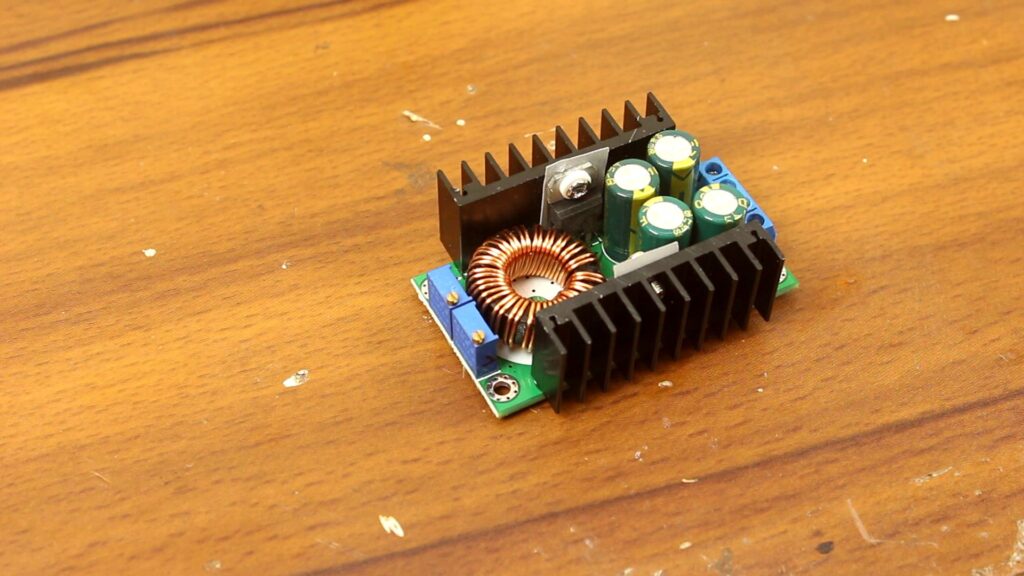
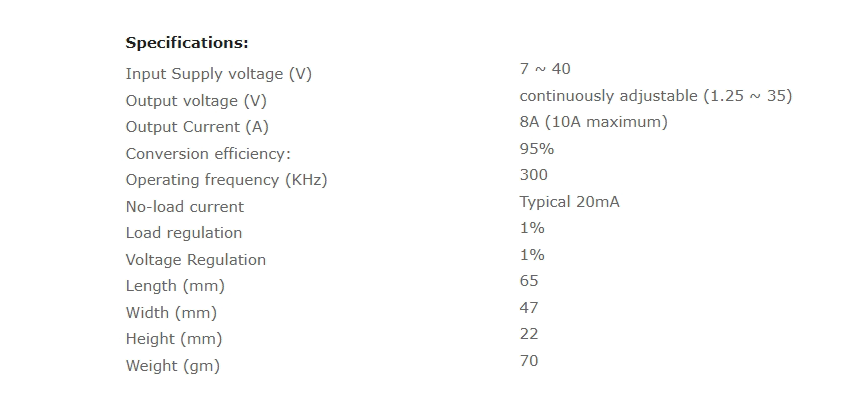
According to its datasheet, it could easily operate from 7v to 40V and the maximum output voltage is pretty closed to the input supply voltage. By tinkering with this trimmer, we can control the output voltage. Awesome. It is also possible to limit the current. The trimmer on the left takes care of it. Minimum is 0.3A aka 300 mA and maximum 10A.
How to Measure the Output of the Bench Power Supply?
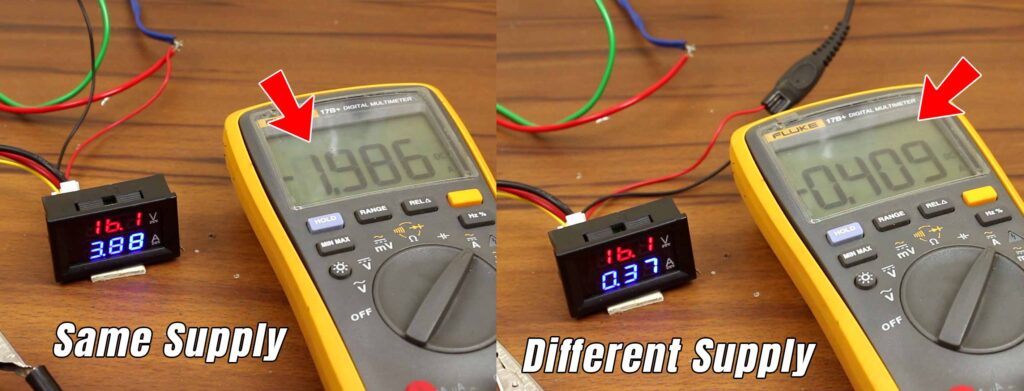
To measure the output voltage and current, a small voltage and current meter would come in handy. This can measure up to 30V 10A. The only problem is it needs to be powered isolated or from a different power source to get accurate readings. I have provided the wiring diagram down below.
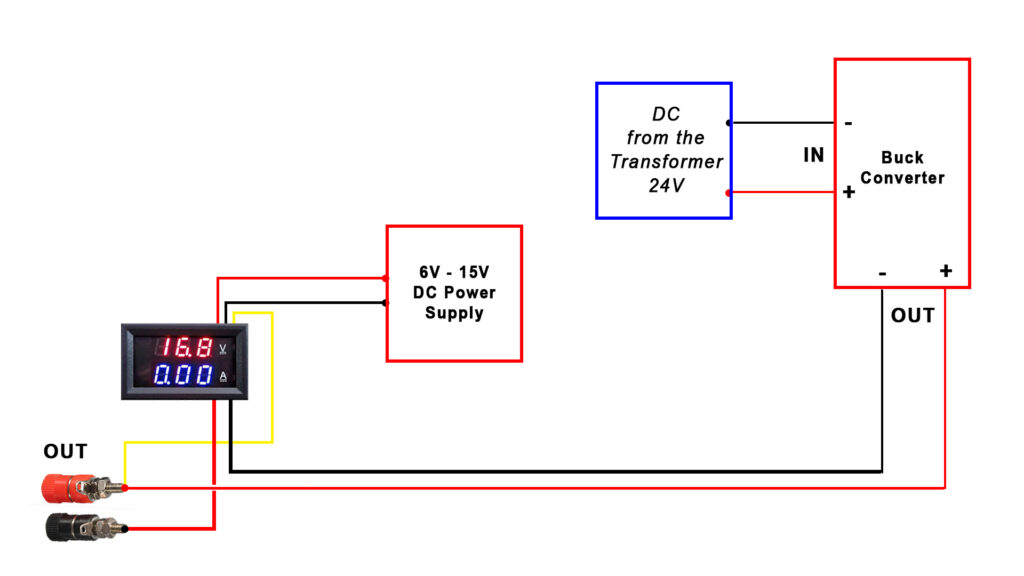
This way, the meter readings are pretty accurate. If you power the meters directly with the output of the bridge rectifier, the values will be getting distorted aka imprecise.
Modification with Buck Converter module
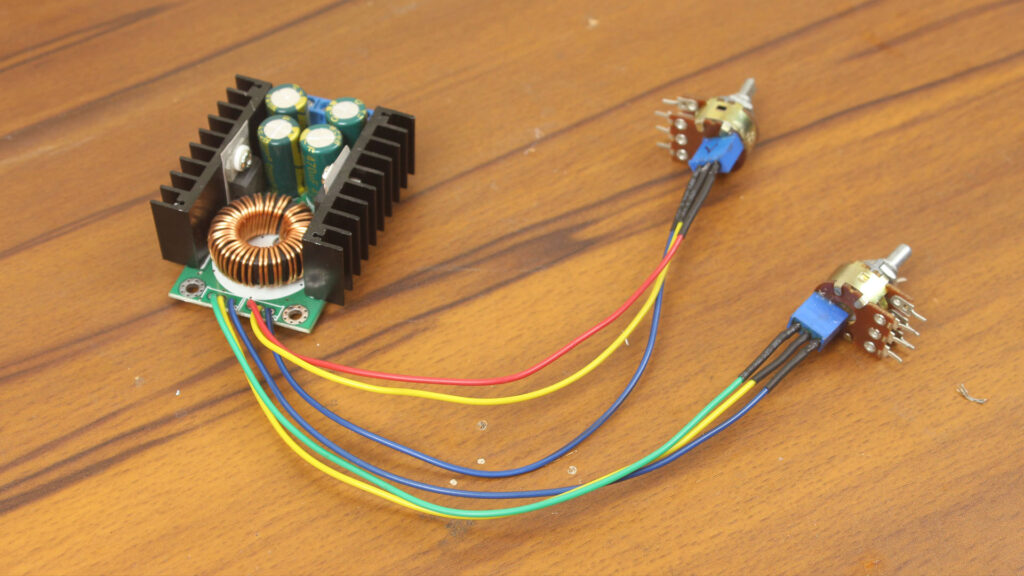
Obviously, the buck converter module itself is a plug-and-play device. There’s nothing much to modify but I prefer to replace the 100K trimmers (responsible for controlling voltage and current) with multiturn potentiometers which I have made by myself with the help of those trimmers that I have removed earlier.
You can watch the video below if you want to replicate this.
Complimentary Parts List to Complete the DIY Bench Power Supply
To complete the DIY cheap bench power supply there are some complimentary parts that are necessary – Fuse holder, AC socket, Fan, fan grill, screws, knobs, 0.5sqmm wire, 1.5sqmm wire, 2 binding posts, 2 banana plugs, and 2 crocodile clips.

Power Supply For the Voltage and Current Meter
I have mentioned before, to use the Voltage and Current meter we need to power it separately. For that, we could use a separate wall adapter inside the housing of the bench power supply but that’s a pretty dumb idea. Instead, I could easily round a couple of turns of an enamelled copper wire on the bobbin of the transformer to get the voltage we need.
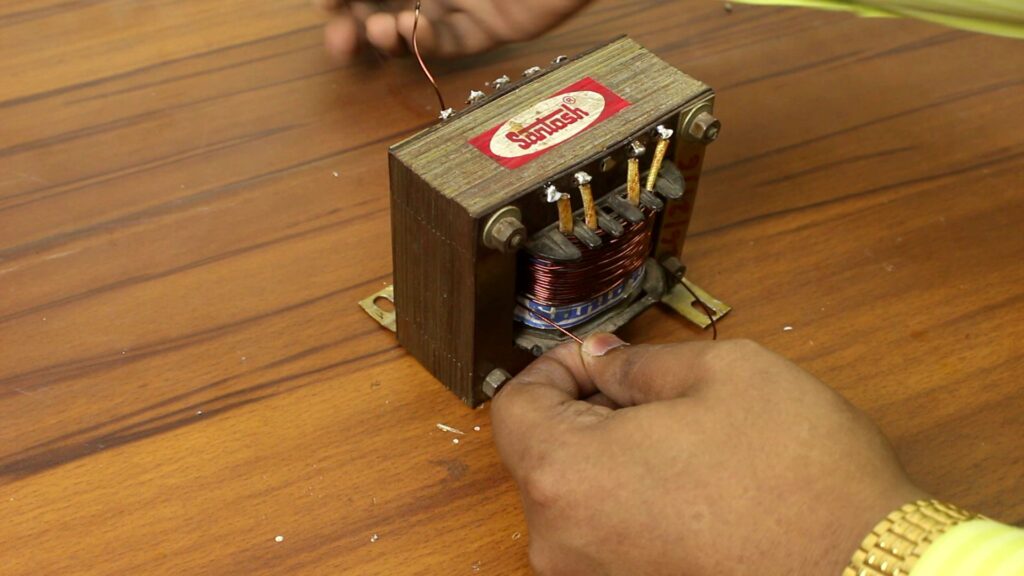
So, I have wind approximately 26 turns of 0.9 mm thick enamelled copper wire and got around 8.6 V. This secondary winding is completely isolated from that secondary that powers the buck converter. To get the rectified DC, I have used a diode and 470uf capacitor.
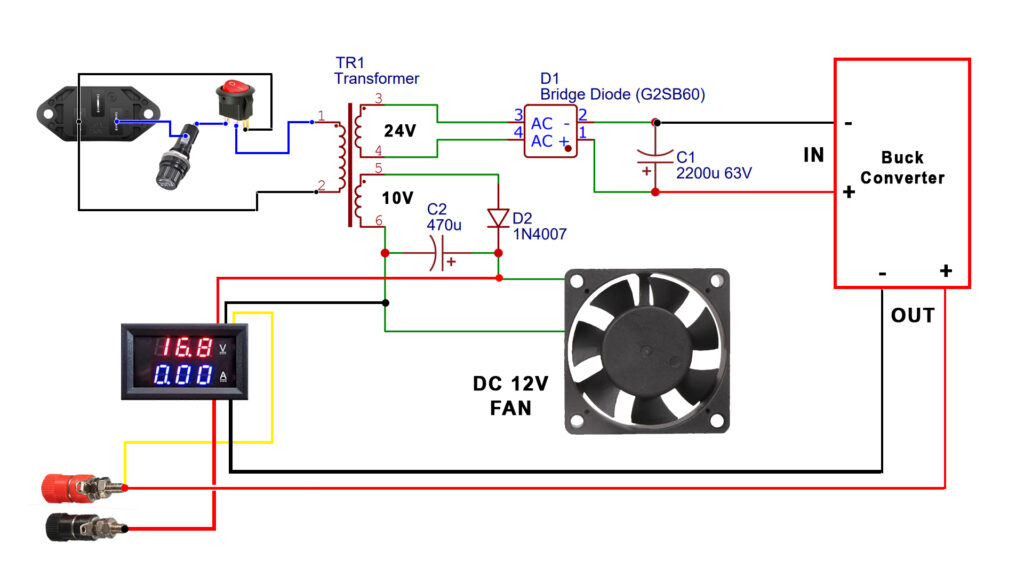
Full Circuit Diagram
Here is the full circuit diagram you could use if you are planning to build the DIY bench power supply by yourself.
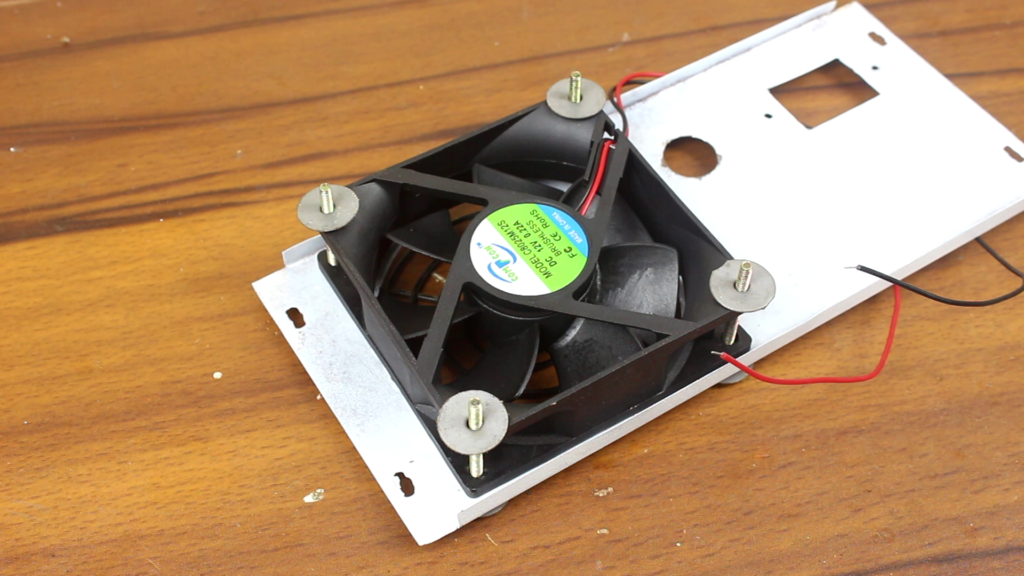
To cool down the components, I have used a 3inch 12V fan which is powered by the isolated 10V supply.
Enclosing the Power Supply
To pack everything together, I have picked this enclosure (As shown in the picture below) that would be enough for our needs.
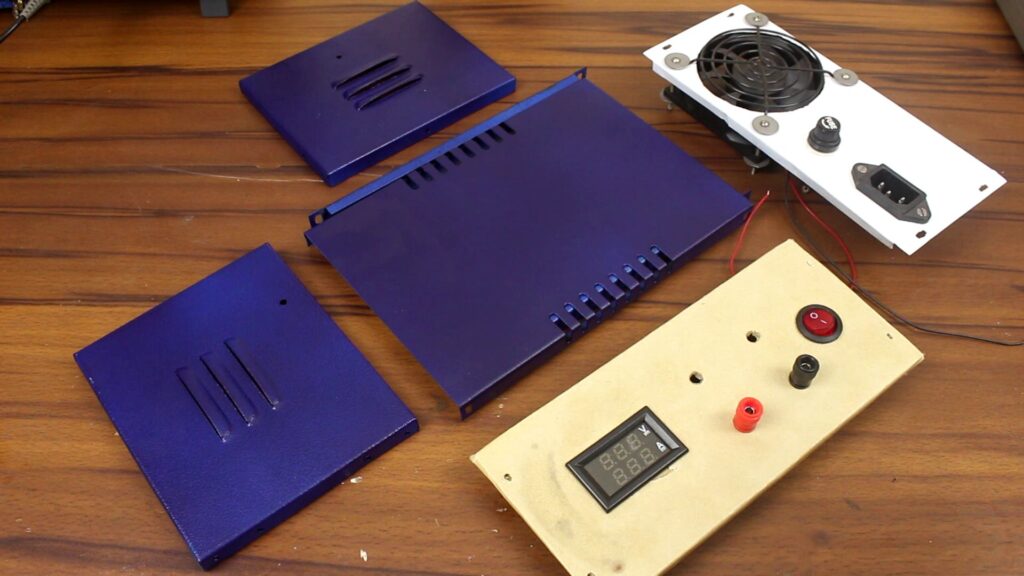
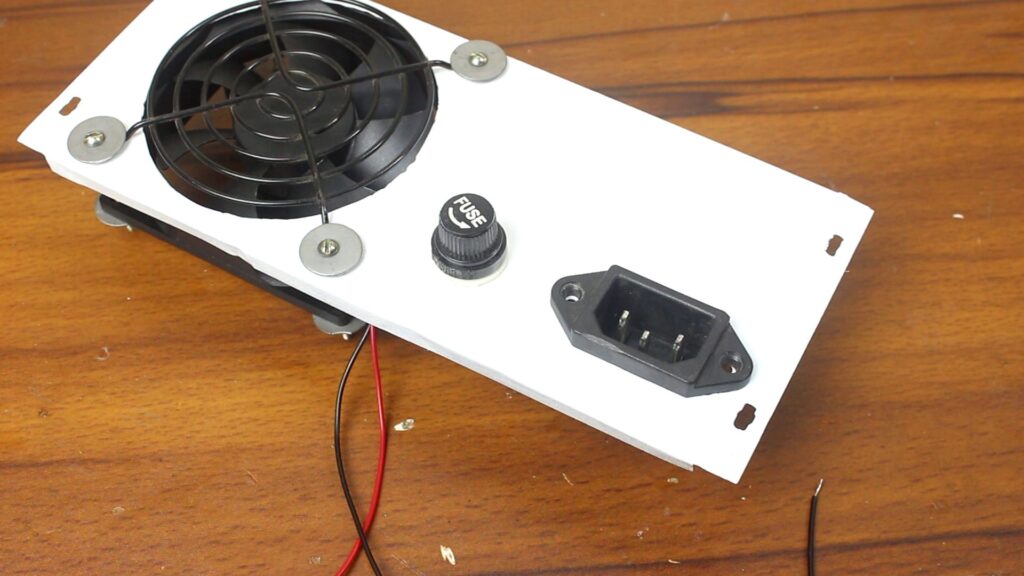
I have installed the Fan, Fuse, and the AC socket beforehand at the backside of the enclosure.
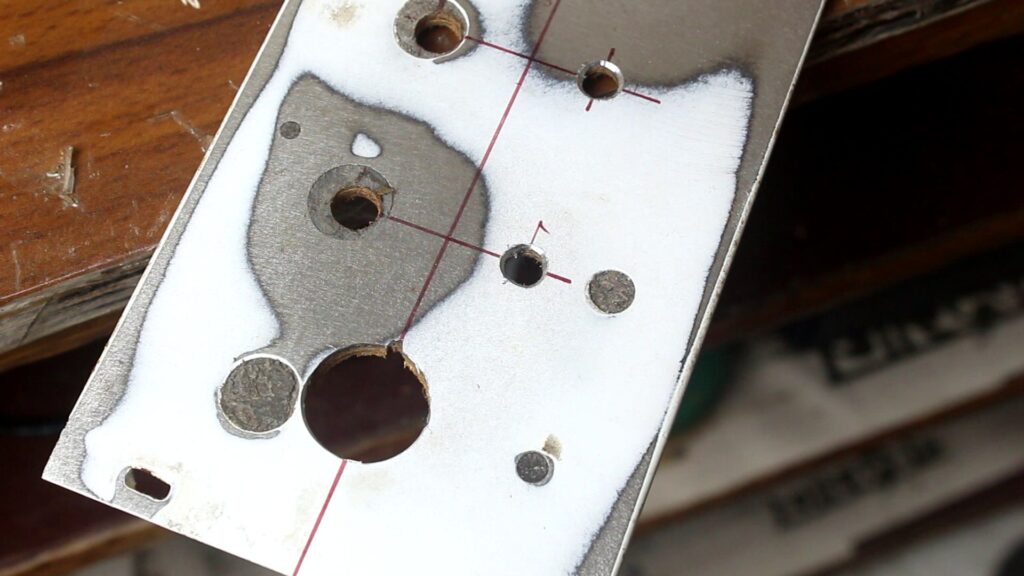
On the front side plate, I have made a suitable hole for the digital Meter, potentiometers, binding posts, and a big one for the switch.
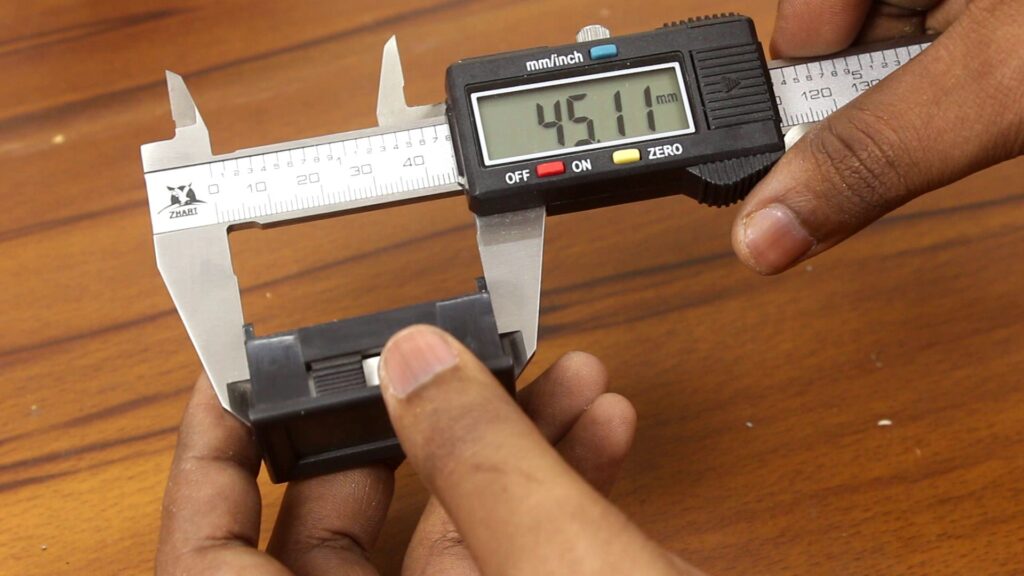
Obviously, before cutting the holes, I have taken all the measurements with my caliper for accuracy.
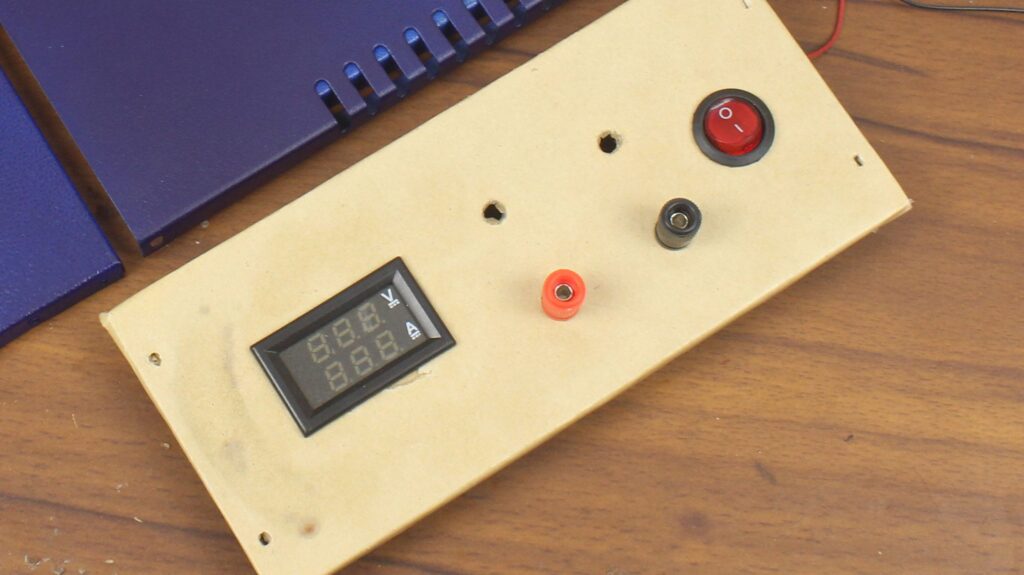
Here’s the image after assembling all the parts on the front side plate.
Ok, now it’s time for the transformer to be set up. After screwing it with the body, I have soldered the power wires according to the diagram shown in the picture below.
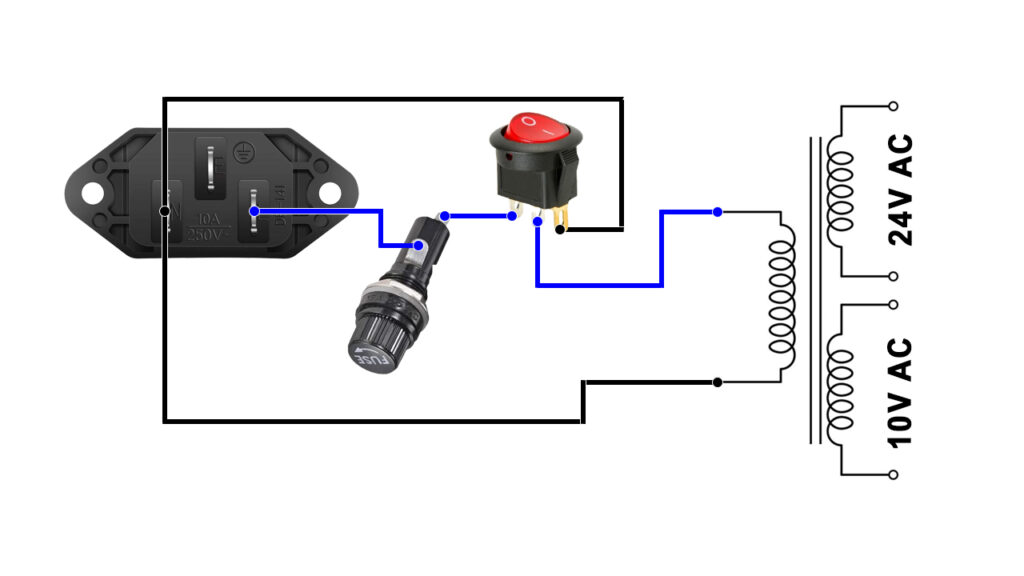
Next, we need to set the circuits inside. As we have connected before, everything is pretty much the same. The output of the buck converter will be connected to the binding posts through the current measuring path of the meter. The voltage sense wire will directly be connected with the output positive.

The output of the bridge rectifier would be directly connected with the buck converter and the single diode rectifier provides power to the display and the fan.

Now let’s set the potentiometers in the place.

To provide a unique look to the housing, I have designed and printed a 3D printed label that offers the logo of my YouTube channel. It can fit on top of the box with the help of two screws.
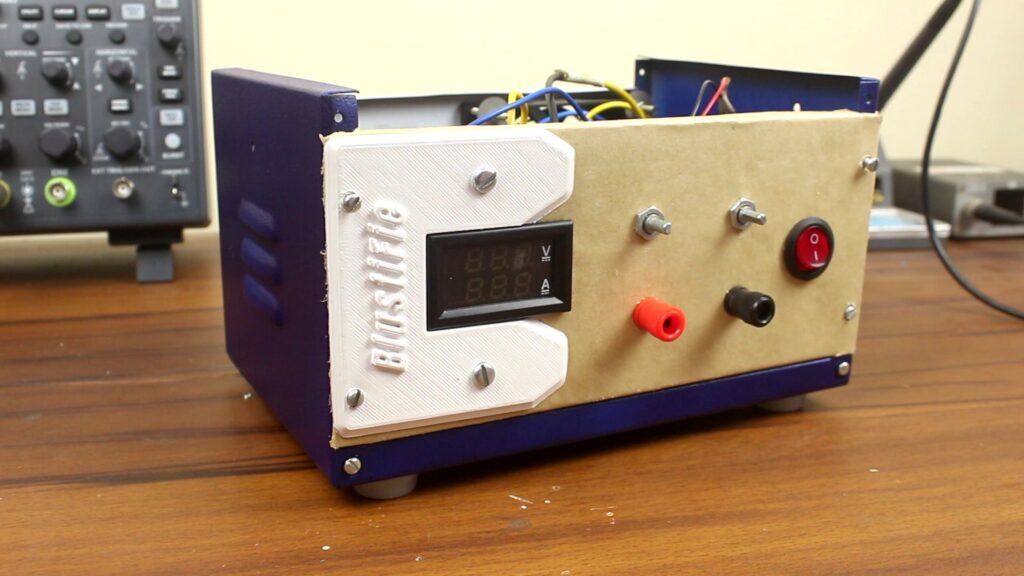
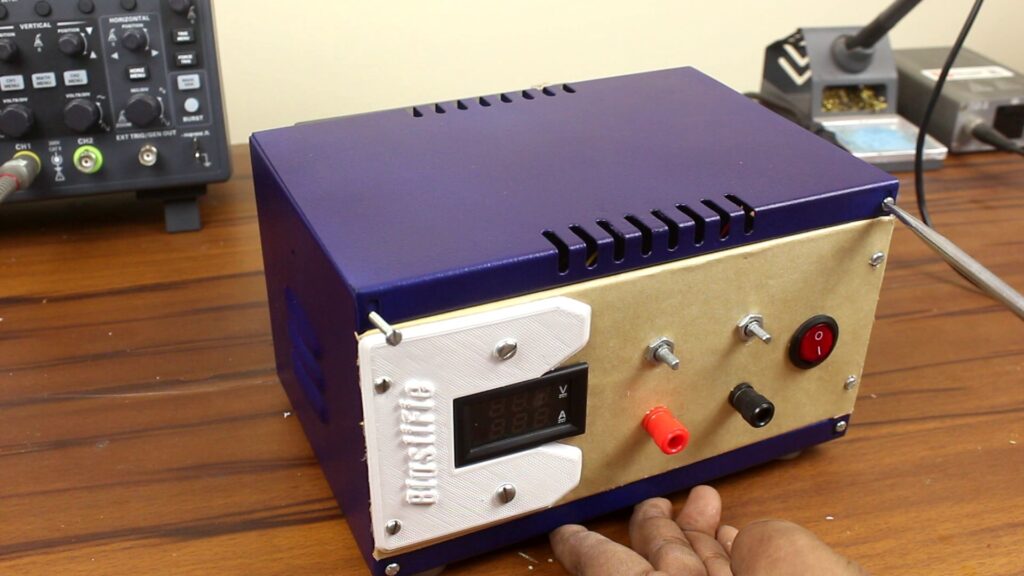
That’s it, now all we need to do is to assemble the enclosure with screws.
Capabilities of this DIY Cheap Bench Power Supply
To connect the output with the binding posts, I have used these banana plugs. I soldered the wires inside it and soldered some crocodile clips on the other end of the wire. Now, we are finally at the end of this project.
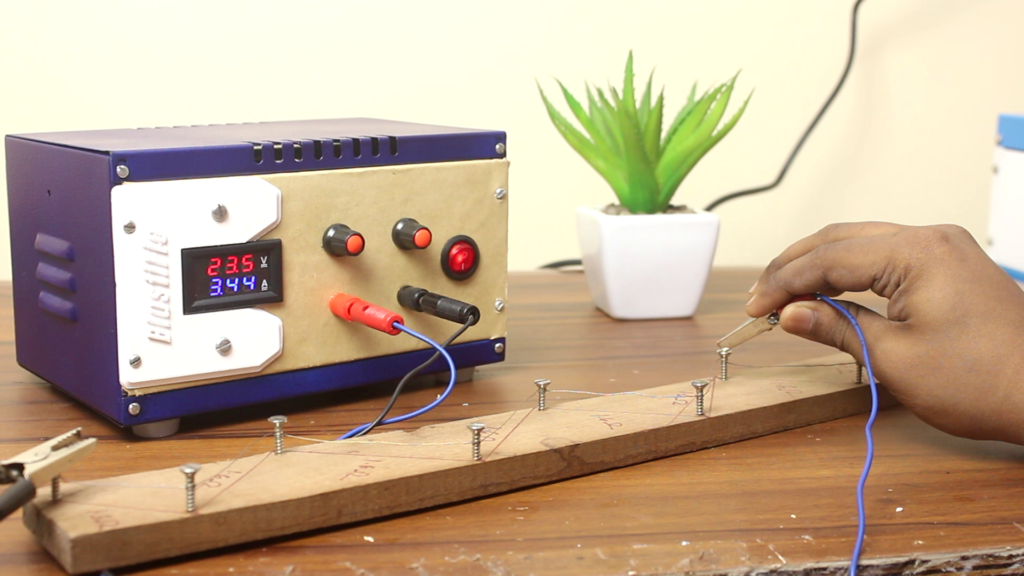
Let’s test the capabilities of the power supply, so I have connected the AC power cord, made a load with ni-chrome wire, and cranked up all the potentiometers to the maximum. After connecting the load, it’s quite obvious that voltage isn’t maintained at 35 V, it drops to 26V at a current draw of 2.7A. If we increase the load by reducing the resistance then at 24V, we can achieve up to 3.5A. If we crank down the voltage at 24V then still it is maintaining 3.5A of current draw. Let’s take a look at how much it can deliver at 12V. Ok, it can deliver 4.1A. Alright pretty good I would say for a beginner.
In the Concluding Lines…
So, this DIY Dual Channel power supply will be added to my book of success. It costs me around 1200/- Indian rupees. Pretty cheap for a bench power supply in my opinion. Obviously, it doesn’t have any modern fancy features but it will be a hope for a beginner who is just diving into the electronics.
Hope you guys enjoyed this and learn something new. If so then don’t forget to express your thoughts in the comment section below. Thanks for visiting.

