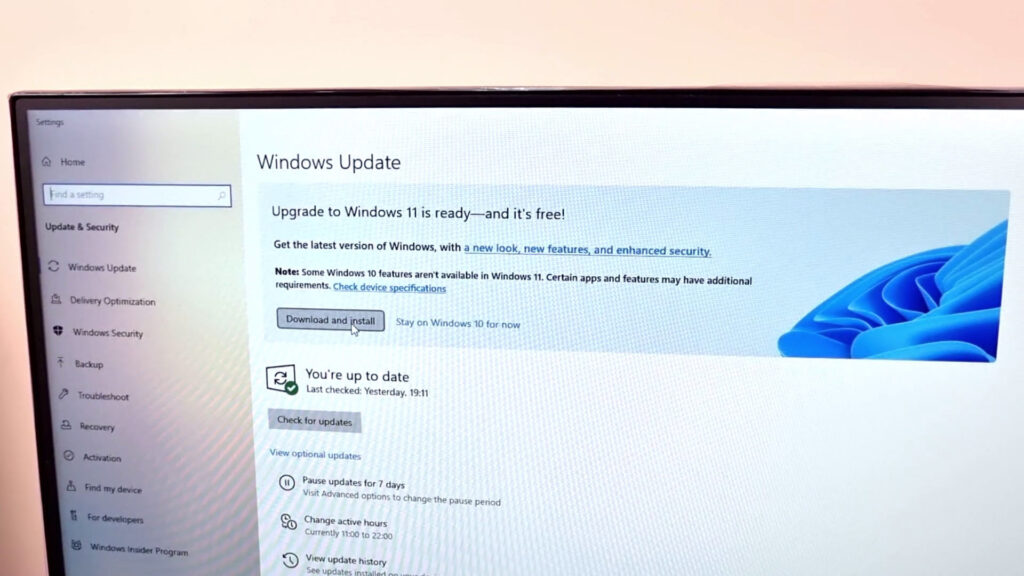
Windows 11 is surely one of the most Hyped OS I have ever seen. Not each and every machine has the ability to install it. Your PC has to meet the minimum system requirements to install the OS but before you are planning to do that here is a couple of things you should do before upgrading to Windows 11 so that you can achieve success on your first attempt at Windows 11 update. This way you can also avoid the chances of data corruption of your computer.
Before Upgrading to Windows 11, Always Make Sure Your PC is 100% Compatible!
The reason I have included this point first is, I have seen so many people have tried to install Windows 11 on their PC without knowing if their PC is compatible with Windows 11 or not. If it is then obviously no problem but if it isn’t then the upgrading process will be stuck at a certain point and the OS of your PC will brick and you may lose your data. The only way to get recover from this situation is to reset the Windows and as a result, you may lose all the software and user data!
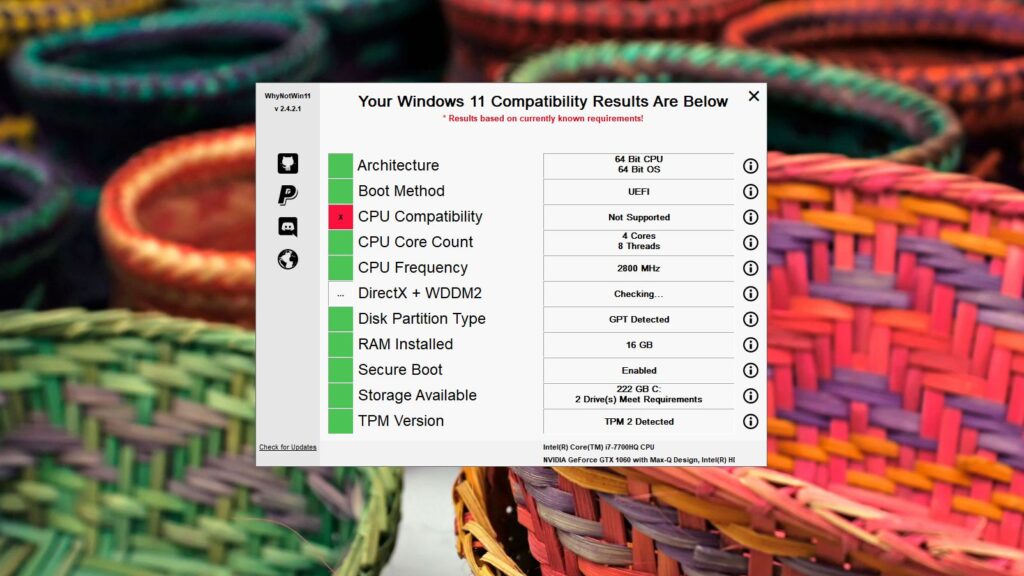
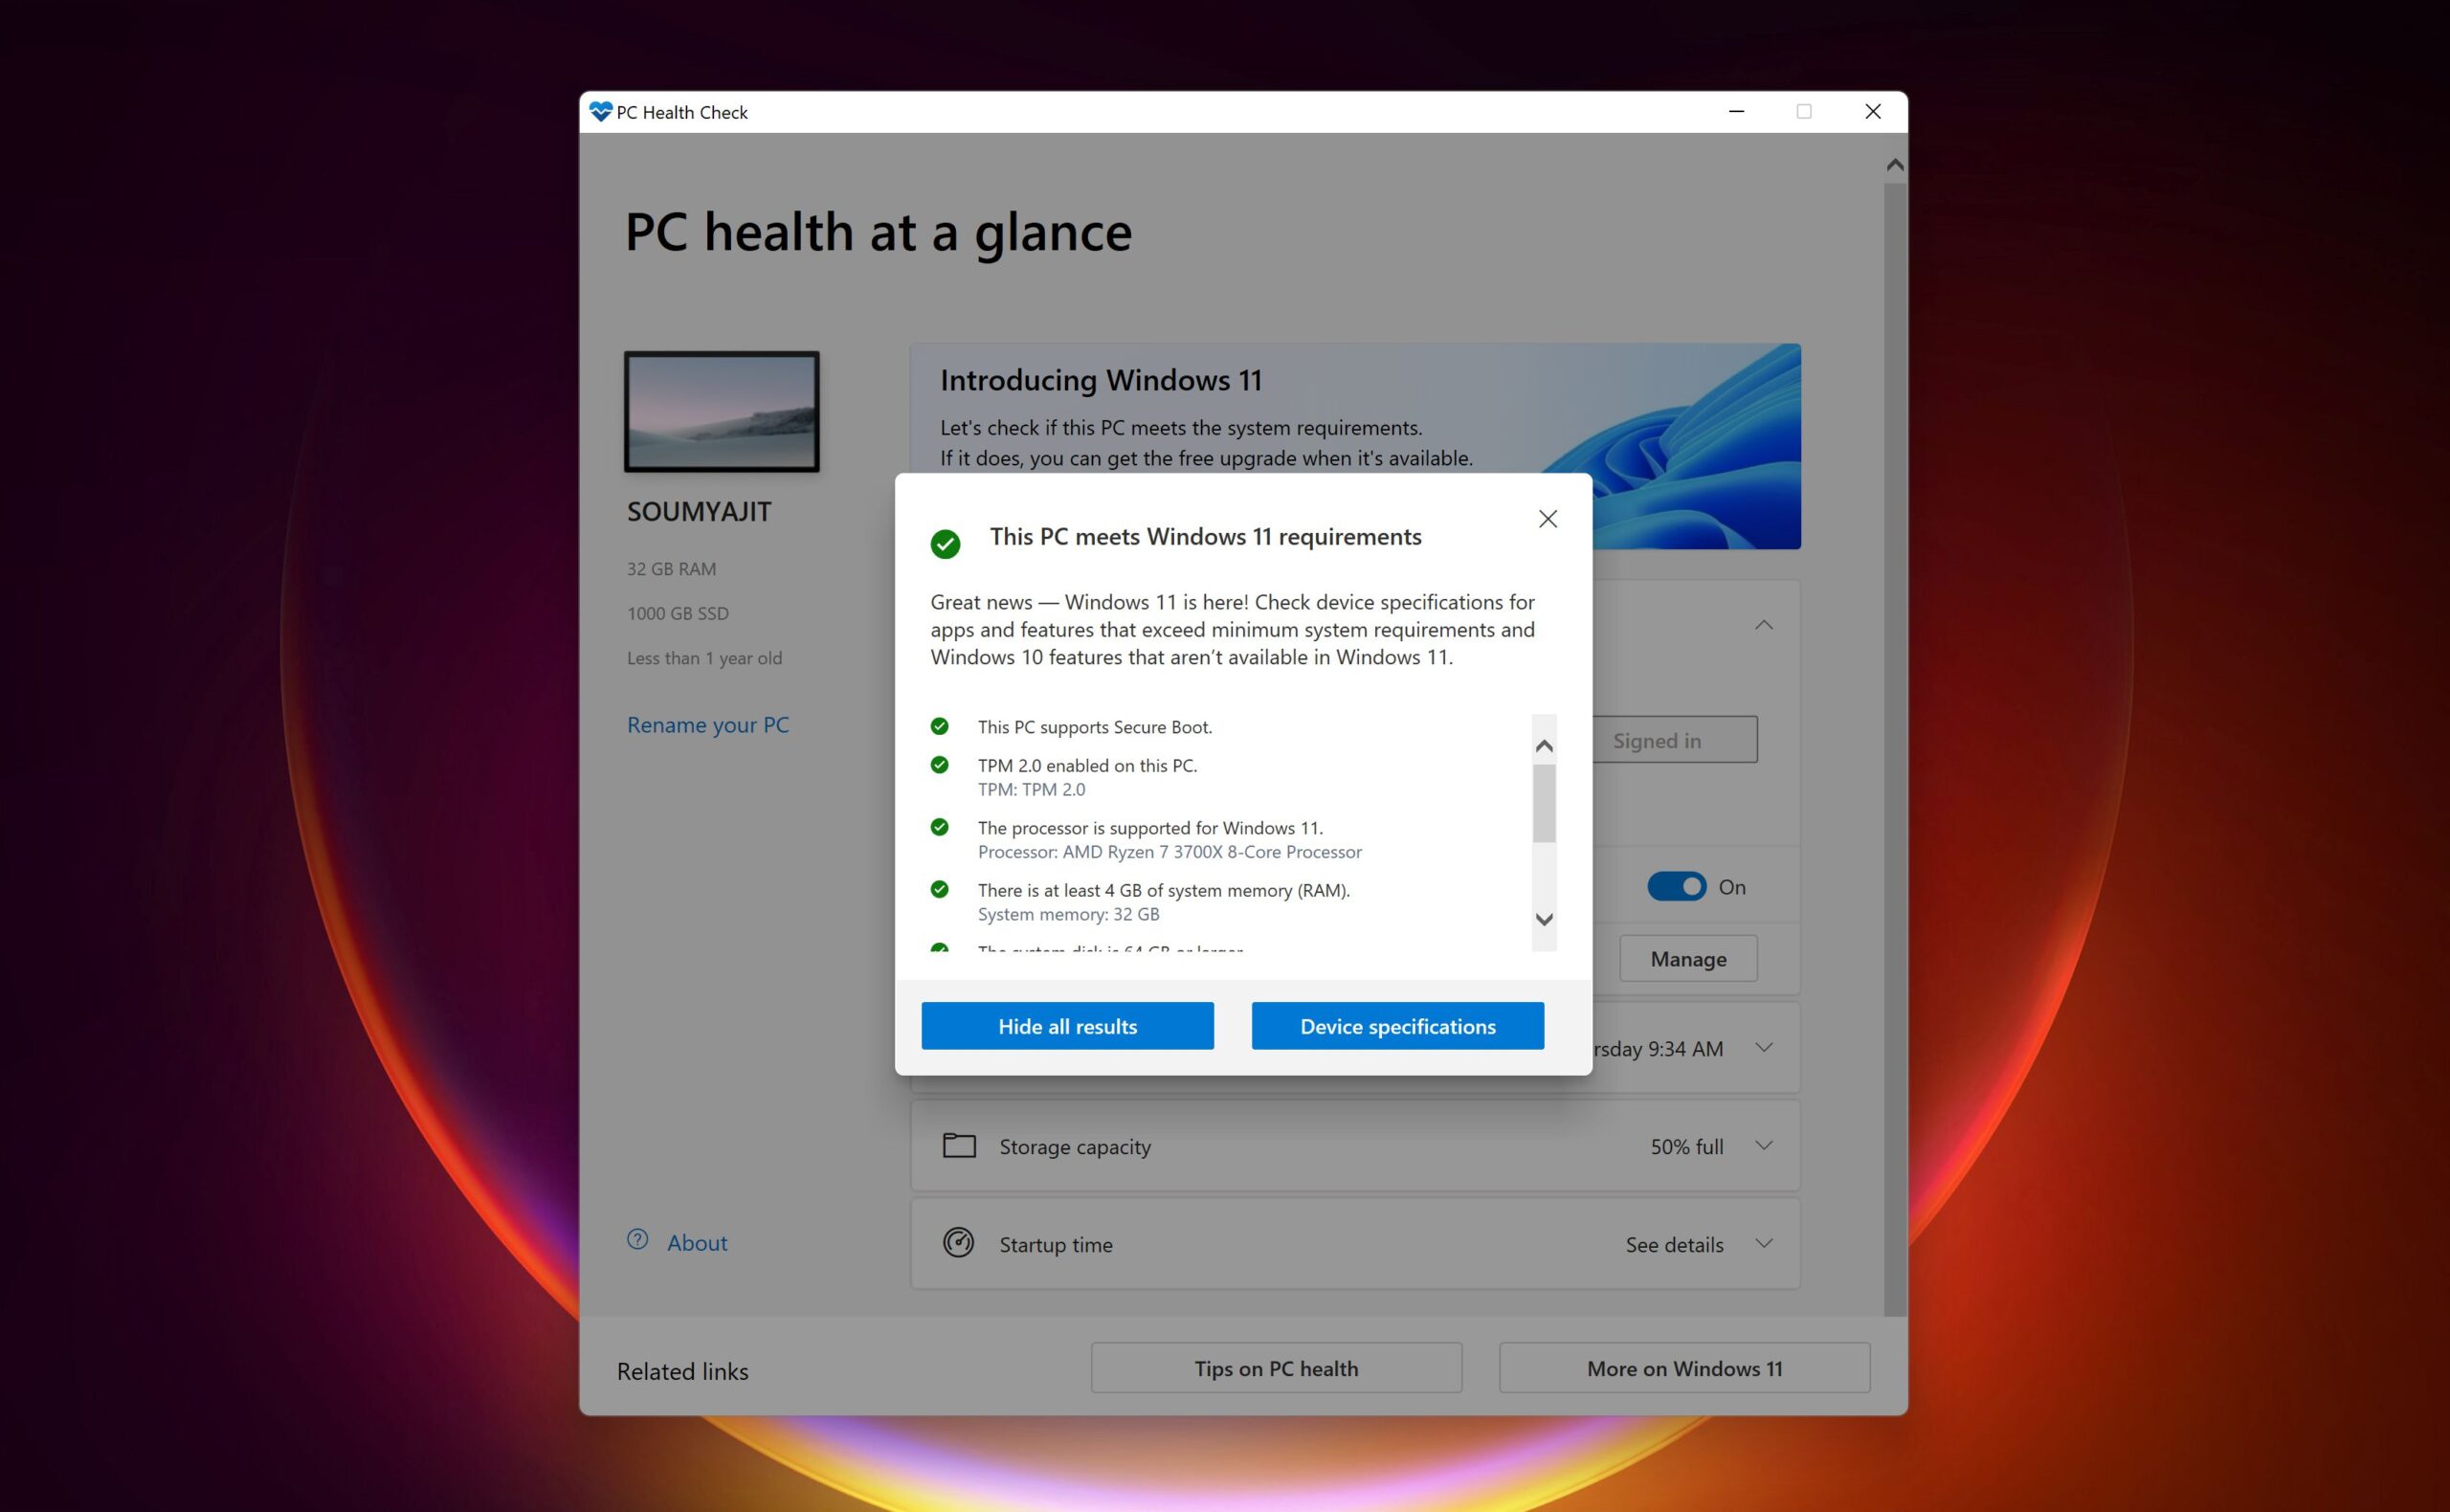
So, without falling into this consequence, just check your PC’s compatibility for Windows 11. You can use Microsoft’s official tool PC Health Check app or go for 3rd party Solutions like Whynotwin11. Both work flawlessly and provide you with all the information you need before upgrading to Windows 11.
Have You Enabled TPM?
When you check the compatibility of your laptop/desktop for Windows 11, most of the time, the issue is the availability of a TPM 2.0 chip but actually, it isn’t. If you have bought your computer in between 3 to 4 years, it probably has the support of TPM 2.0 but it may be disabled from the BIOS / UEFI. In case you don’t know, TPM is a physical chip installed on motherboards that stores your sensitive security data.
As I said, the only way to enable TPM is from the BIOS. Obviously, the most trusted way is to ‘tapping a keyboard key’ (Mostly ‘Del’ Key) during boot up but if Fast Boot is enabled then you might not get the chance. There is another way you can access the BIOS.
- Go to Settings > Update & Security > Recovery > Restart now.
- When your computer restarts, you’ll see a big blue screen with several options. Select Troubleshoot > Advanced Options > UEFI Firmware Settings > Restart.
When the computer restarts again, you should be in your BIOS/UEFI settings menu.
How to Enable TPM 2.0?
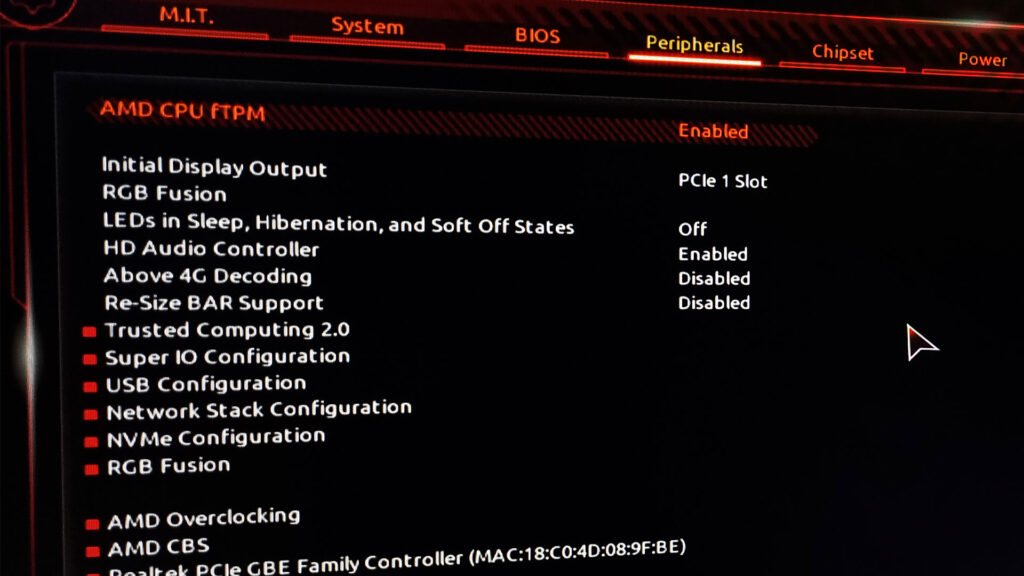
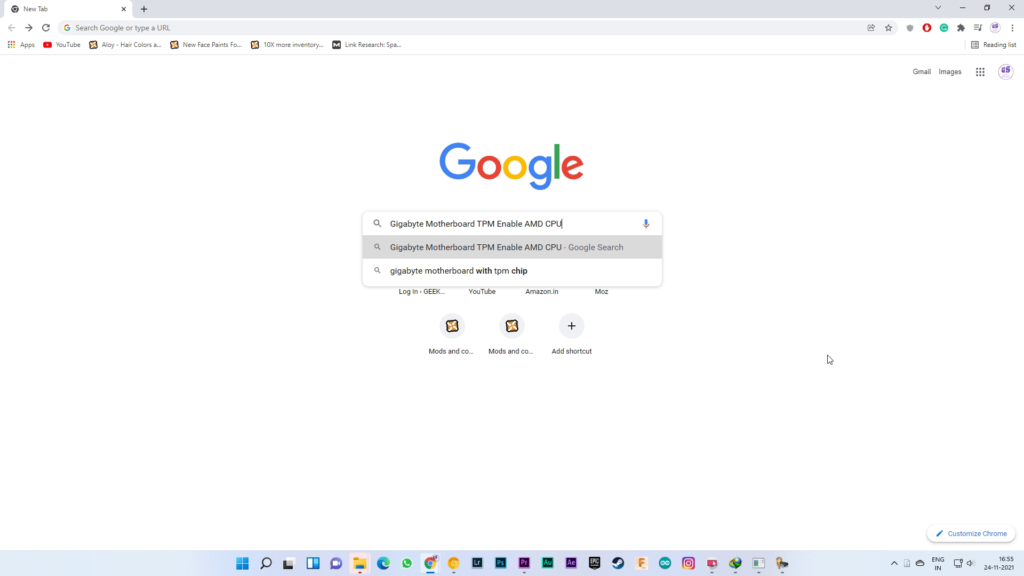
Depending on which manufacturer’s motherboard you have, the position of the TPM settings can differ. Keep in mind, if you have an Intel CPU then find for ‘Intel Platform Trust Technology (PTT)’ if AMD then it could be found something like ‘AMD fTMP’.
A bit of Googling might help you to find TPM options in the BIOS of your specific motherboard.
Secure Boot is Also Very Essential to Run Windows 11
Mostly, secure boot is enabled by default in most of the modern motherboards but if it in your case isn’t enabled then head to the BIOS/UEFI once again and find for ‘Secure Boot’. A bit of Googling might help you but according to my experience, it could be in the Boot tab. Find your Boot tab and scroll down to find the ‘Secure Boot’ option and enable it.

Don’t Try Upgrade Or ‘Clean Install’ Windows 11 If Your PC is Incompatible
If the system of your pc is incompatible with Windows 11 then you shouldn’t try upgrading to Windows 11 because it will brick your PC and you may need to install Windows once again or in some cases, Reset the Windows 10 might help to unbrick your PC.
If you’re going to install Windows 11 on an incompatible PC by hacking the Windows Registry settings then you might be able to install Windows 11 but you might not receive any security update from Microsoft because they have already declared it.
Also, incompatible hardware leads you to many different issues like stability problems, Driver issues, your system may get laggy or glitchy & basically anything could happen! So, it’s better not to use Windows 11 in unsupported hardware.
Read Now: Problems with Windows 11 that Stop You to Upgrade!
Always Backup Your System before Upgrading to Windows 11
If your computer is 100% compatible with Windows 11 then I also prefer to back up your C: drive before upgrading to Windows 11. If anything goes wrong then at least your data might not be lost just for a mistake.
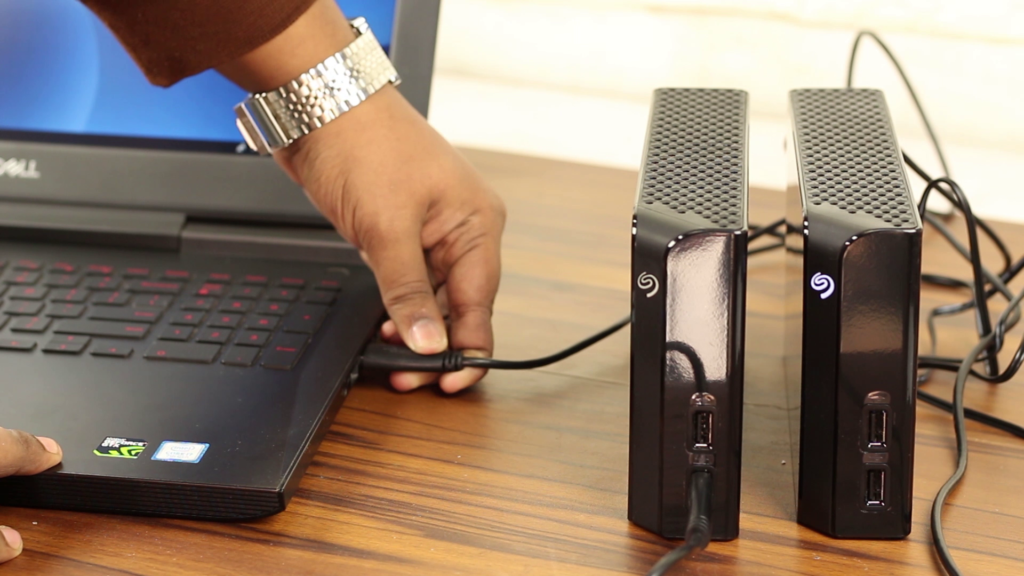
You can either go with quick cloud backup options or an external hard drive (SSD or HDD). Remember don’t back up your C: Drive’s data in the C: drive, It’s a terrible idea!
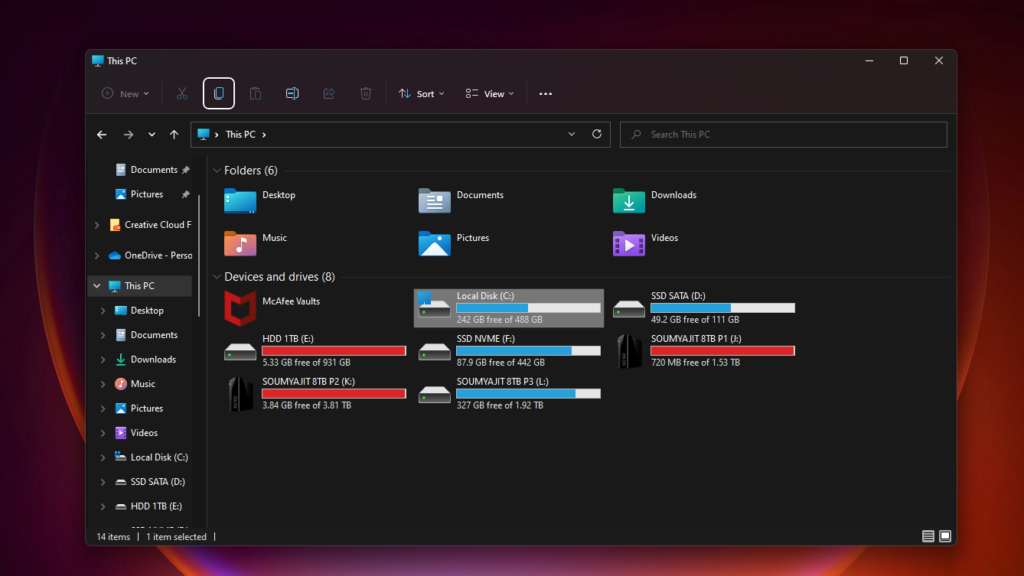
Leave Some Room for Windows 11
If you’re upgrading to Windows 11 then go and check the C: drive to make sure it at least has 20GB free space. This will lead you to smoothly install Windows 11. After downloading, every OS needs much more space to install and if it’s not available then it will warn you or in a worst-case scenario, the OS might not install correctly and causes serious issues that will only be fixed after reinstalling the OS. If you’re getting a problem freeing up the space then you could read our step-by-step guide that will help you to free up to 50GB of space in C: drive.
Laptop Users Be Careful!
If you’re a laptop user and are going to install Windows 11 then before installing, it is better to connect the charger with your laptop. If in any case laptop battery is dead then installation stops and may corrupt the full OS of your PC. Then the only solution is ‘Clean Installation’. Using this small trick may save you lots of time for installing the OS and your important programs.
So, these are the precautions you have to take before upgrading to Windows 11 and Best of luck with your installation. Anyway, I hope you have found this article helpful. If it really so then don’t hesitate to express your valuable thoughts in the comment section down below. Thanks for visiting and appreciating our work.
I very delighted to find this internet site on bing, just what I was searching for as well saved to fav