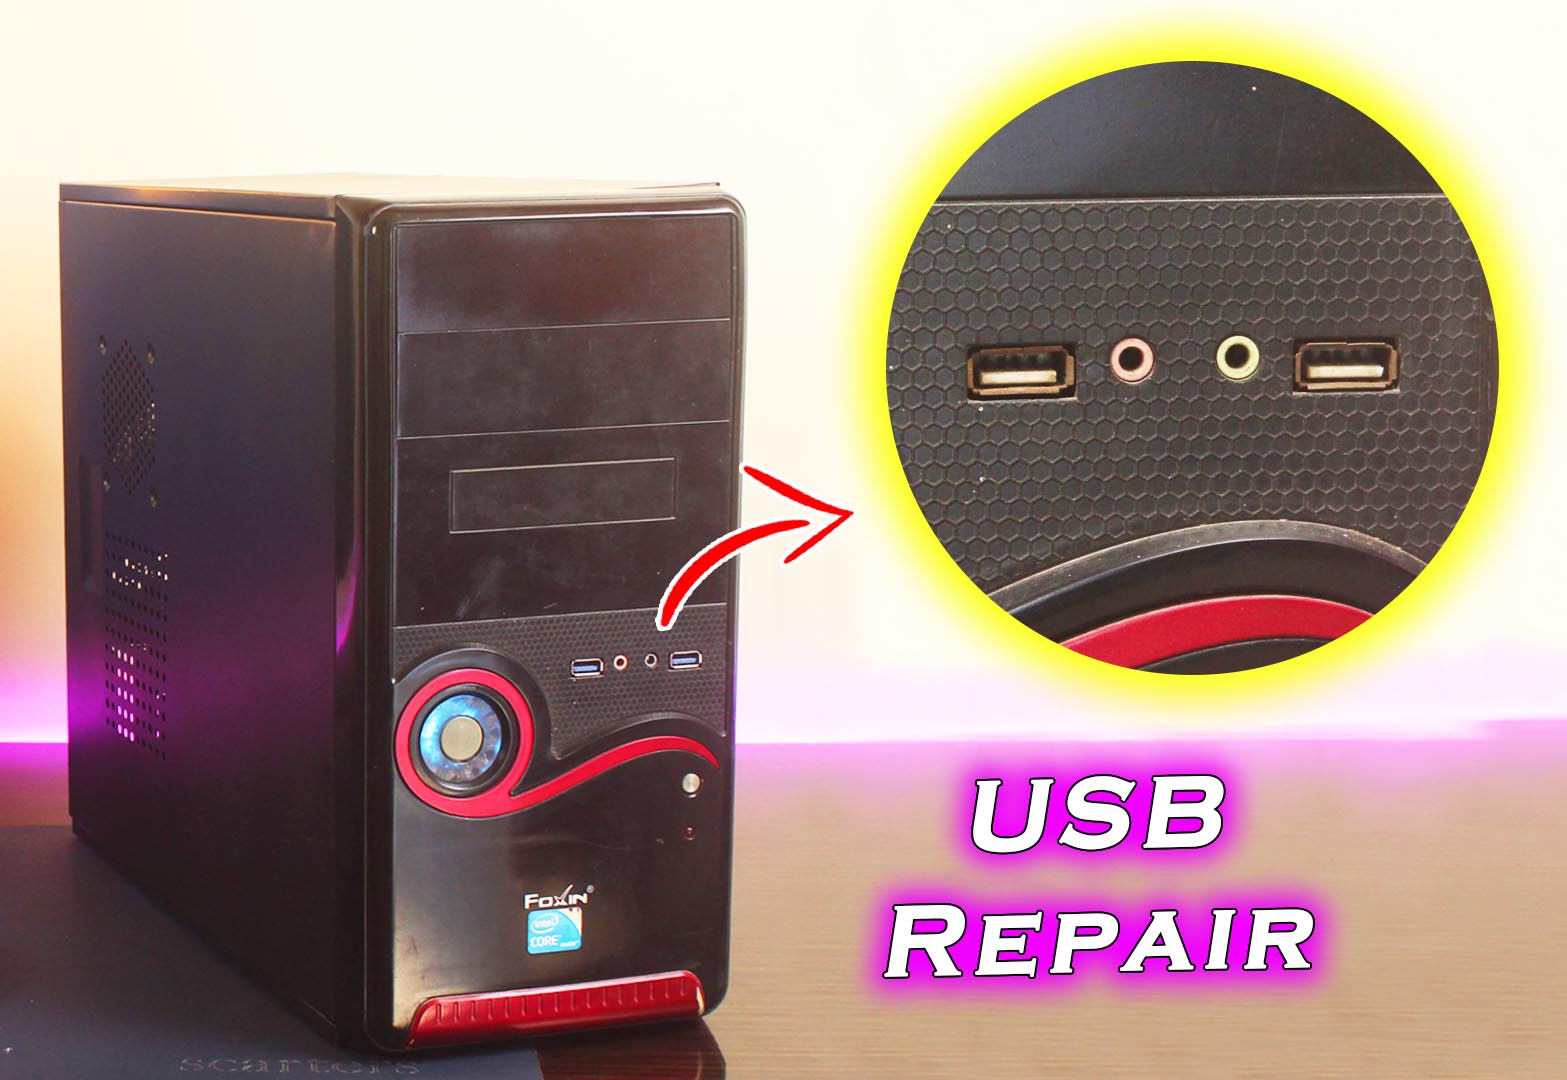
As a desktop user, you may have seen a problem when connecting a device to the front USB Port of the cabinet of the PC – “USB Device isn’t Recognised”. Yes, it’s a common issue. The culprit of this problem is generally the USB Port or the USB Cable you’re using. It gets worse when the connected device disconnects randomly which may result in data corruption. The only way to fix this problem is to replace the USB cable if you’re using any but if that doesn’t solve the problem, you need to replace the USB Port to fix the problem. It seems quite hard to perform but here we will go through every single step so that you can fix the front USB ports easily.
Also Read: How to Factory Reset Windows 11 PC
Disconnects Everything from the PC
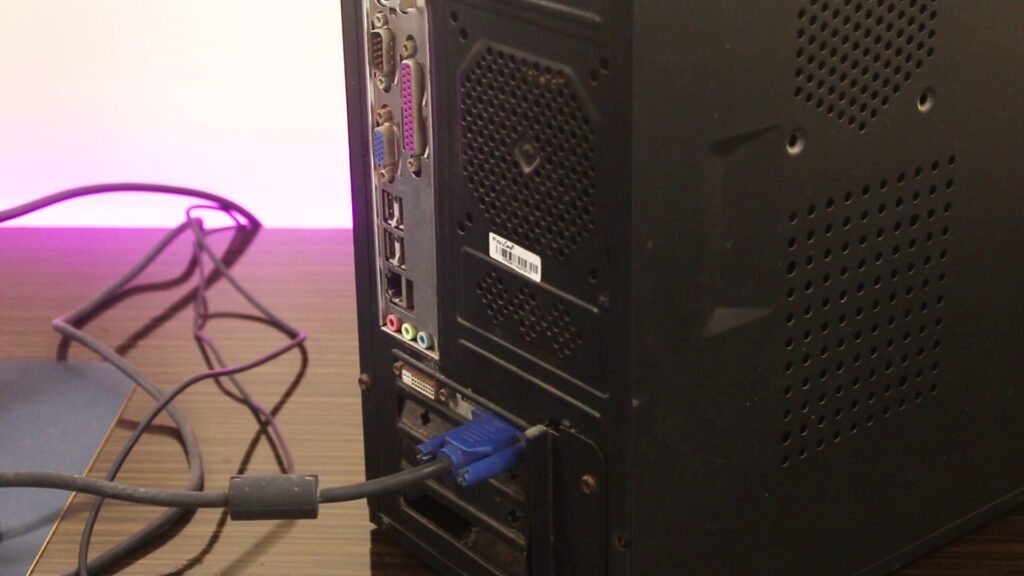
If you’re performing anything hardware related then it’s a good practice to shut down the PC and disconnects every single peripheral like Keyboard, Mouse, Speakers, Monitor, Printer – everything that’s connected with the PC, and most importantly, the Power Cord so that if anything goes wrong or short something with the screwdriver, nothing gets damaged.
Open The PC Case and Locate the USB Ports
First of all, you need to remove the side panel of the PC case. For that, you just need to unscrew two screws and pull the side panel as shown in the graffiti below.

After removing, come up with a plan to remove the front plastic structure of the cabinet that mostly possesses the USB ports.

All computer cases are different so it’s quite hard to tell how to remove the front plastic structure but in most cases, to remove it, sometimes there are screws or some kind of snap-fit mechanism. If there are screws then just unscrew them. For snap-fit systems, I would highly recommend you to Google about that cabinet and understand the proper technique to unmount the front side. Otherwise, you could damage the locks that keep the front structure in place.
In my case, it’s just about a few screws.

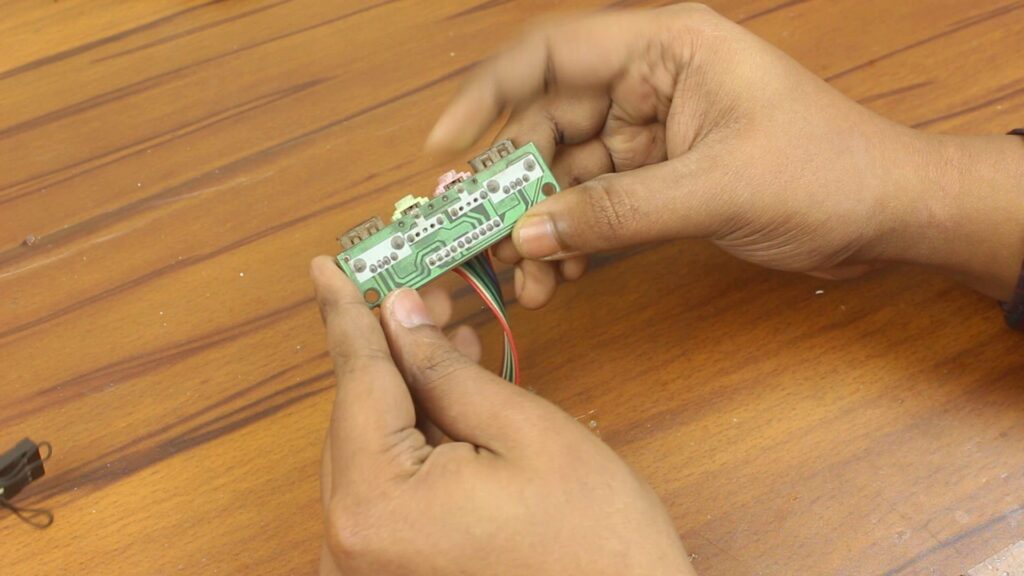
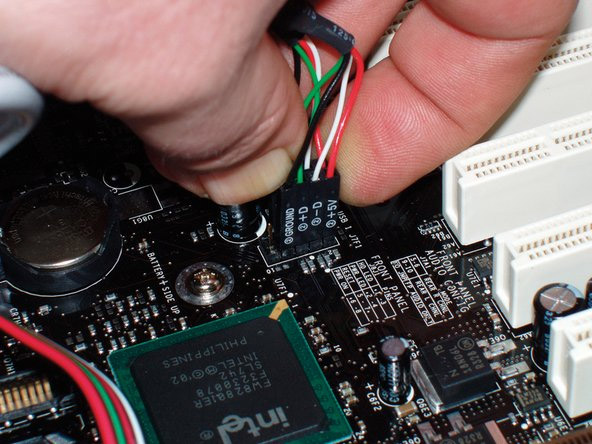
As you can see, the PCB that holds the USB ports and the audio jacks. To remove this PCB, it is better to disconnect it first from the motherboard so all we have to do is to remove the USB connector and the Audio connector from the motherboard.
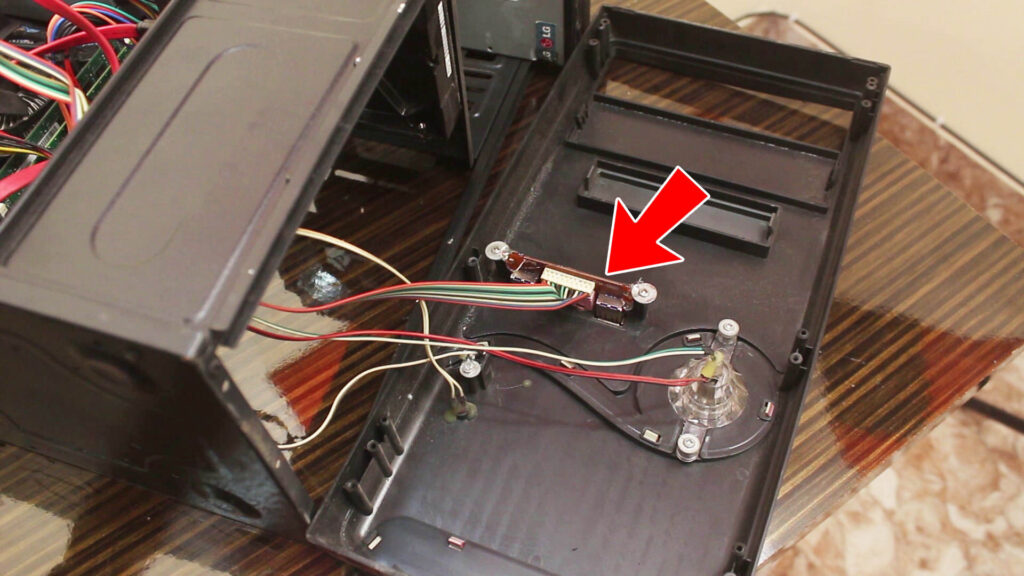
Next, we need to unscrew the screws which hold this PCB. Be careful while doing that. If your PC is old then probably the plastic parts are more brittle and may easily break if you apply too much pressure.

Identify the USB Revision
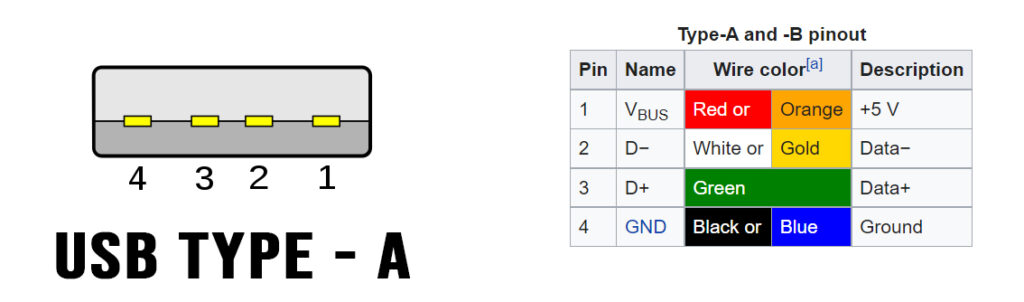
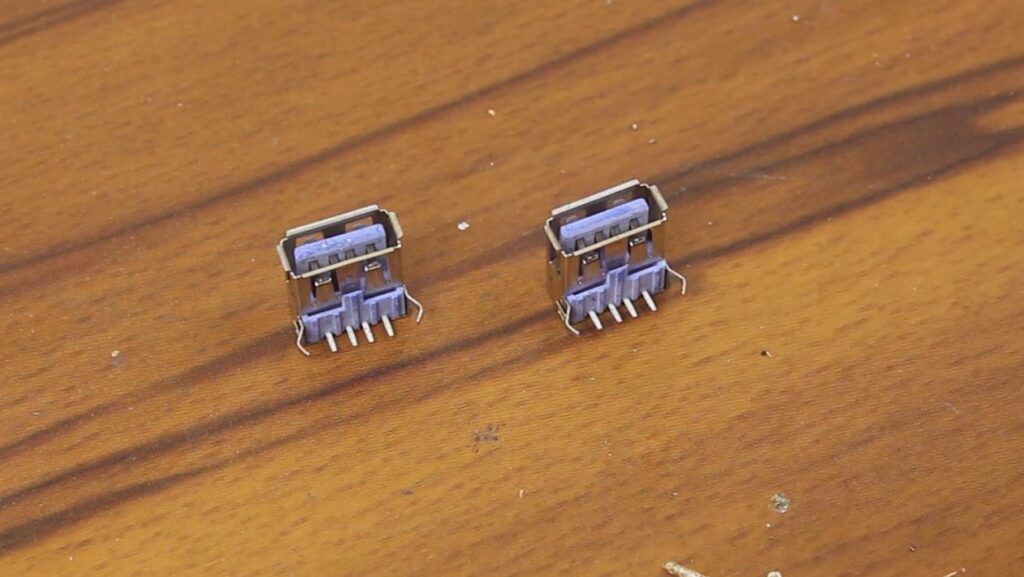
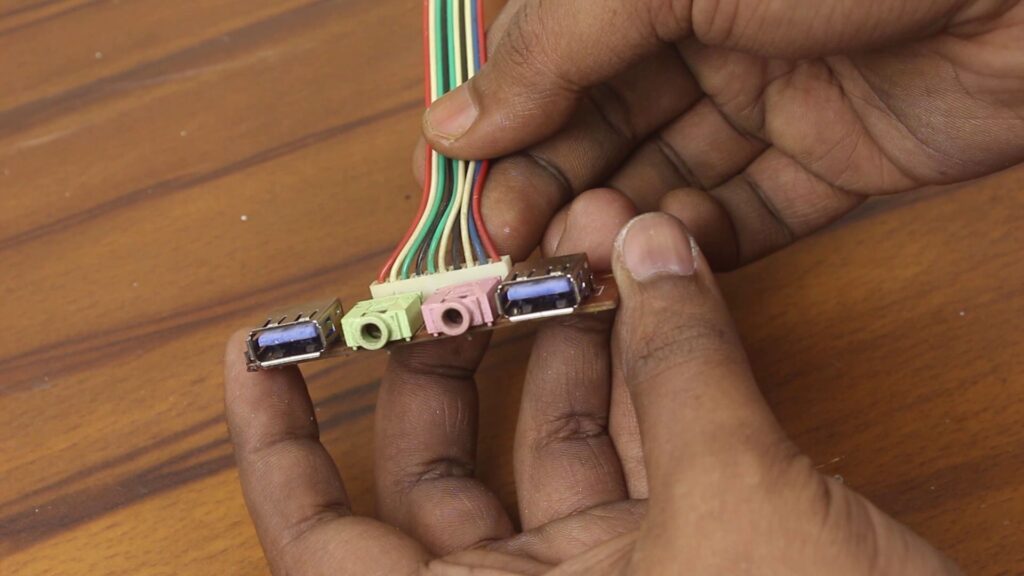
There you have it. You get the PCB. By judging the pin numbers of a single USB socket, it’s confirmed that it’s a USB 2.0 socket. A USB 2.0 socket generally has 4 pins – GND, VCC, D+, and D-. Here’s the chart of USB 2.0 pinout.
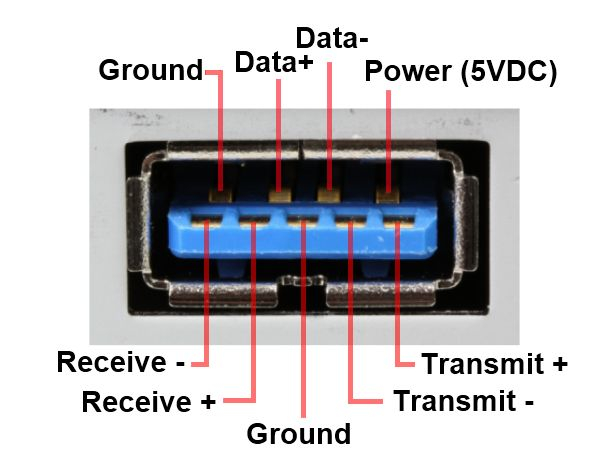
With USB 3.0, there are 9 pins for each USB socket – GND, VCC, D-, D+, Superspeed Transmit-, Superspeed Transmit+, Superspeed Receive- and Superspeed Receive+.
Here’s the chart of the USB 3.0 pinout.
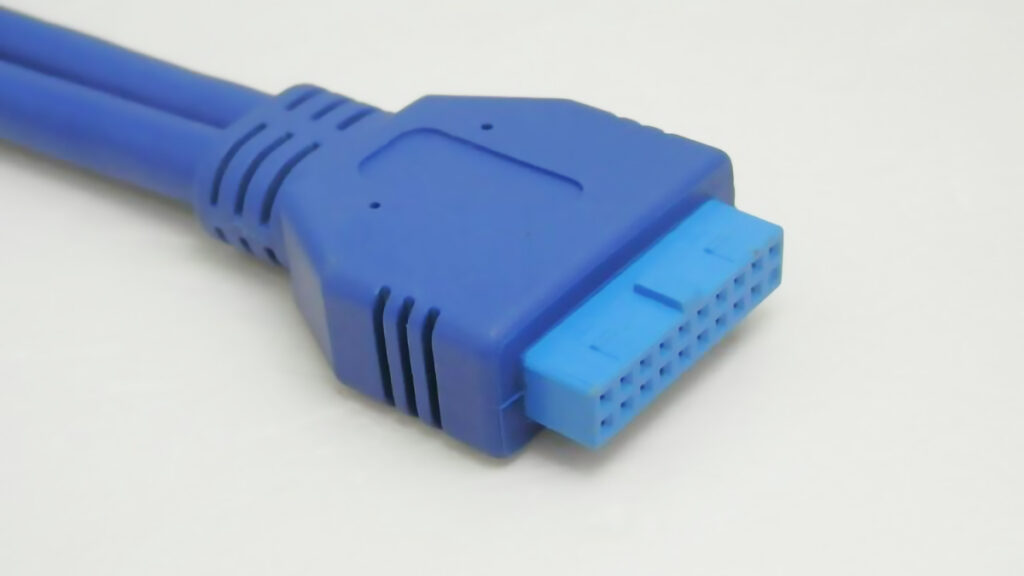
You could also identify a USB 3.0 port by looking at the special wide and bulky connector connected with the motherboard. As you can see in the image below.
After identifying, you need to purchase a replacement part. If the port is a USB 2.0 port then buy a USB 2.0 socket. If it is 3.0 then purchase a USB 3.0 socket.
How to Replace Old USB Socket with New One
It is a simple task to perform, you need quite a few tools.
Tools to Fix USB Ports
- De-Soldering Pump / Desoldering Wick
- Soldering Wire
- Soldering Paste
- Soldering Station/ Solder Iron

Replace Old USB Type-A Port
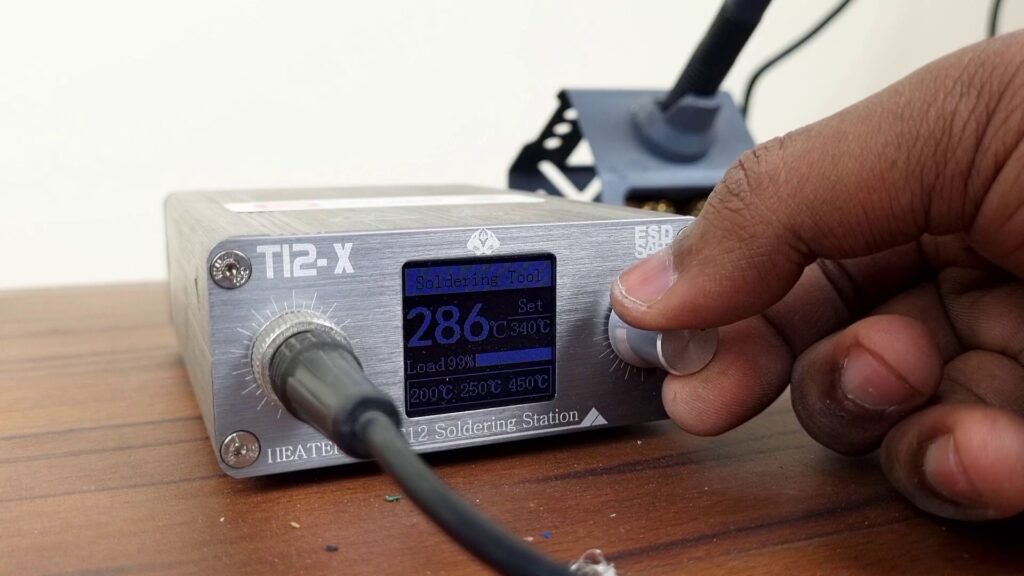
To remove the old USB port, first I have set 350 degrees Celcius on my Soldering station.
When the soldering tip reaches the desired temperature, I have used a bit of soldering paste on old solder joints.

Then I have heated the solder points of the old USB port and use the suction of desoldering pump to remove the old solder.
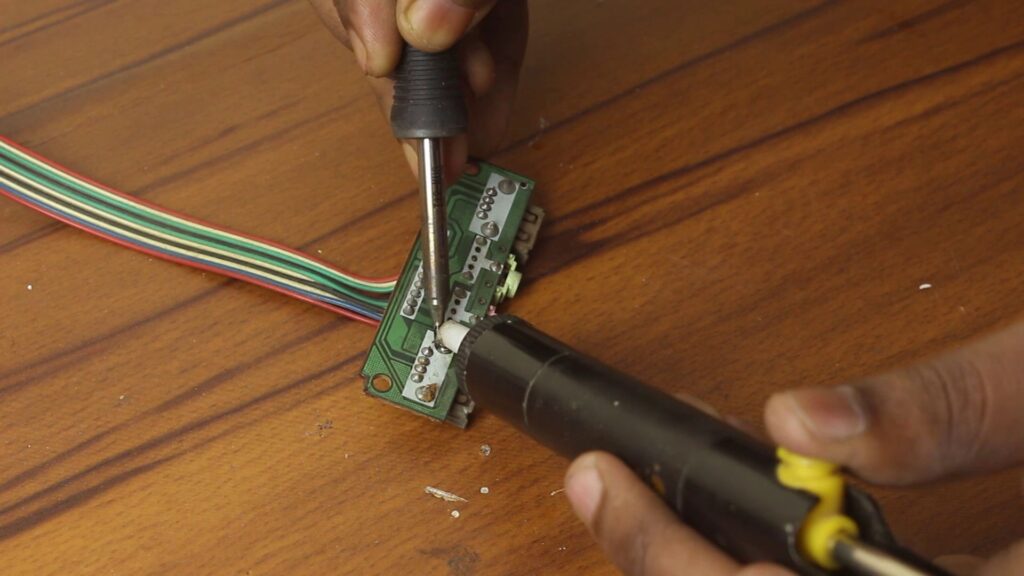
I have repeated the same technique at every single point where the old USB port is connected with the USB port.
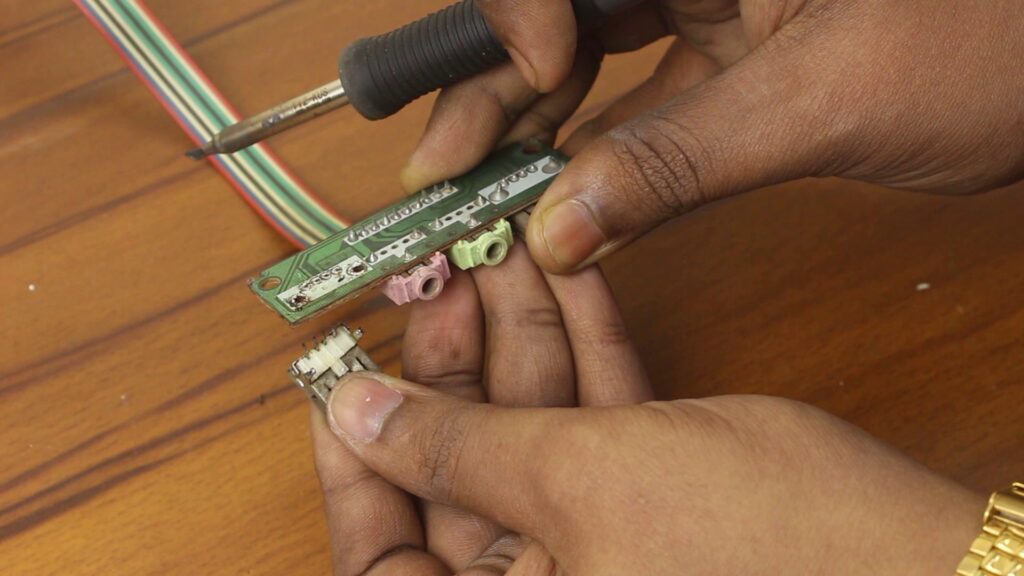
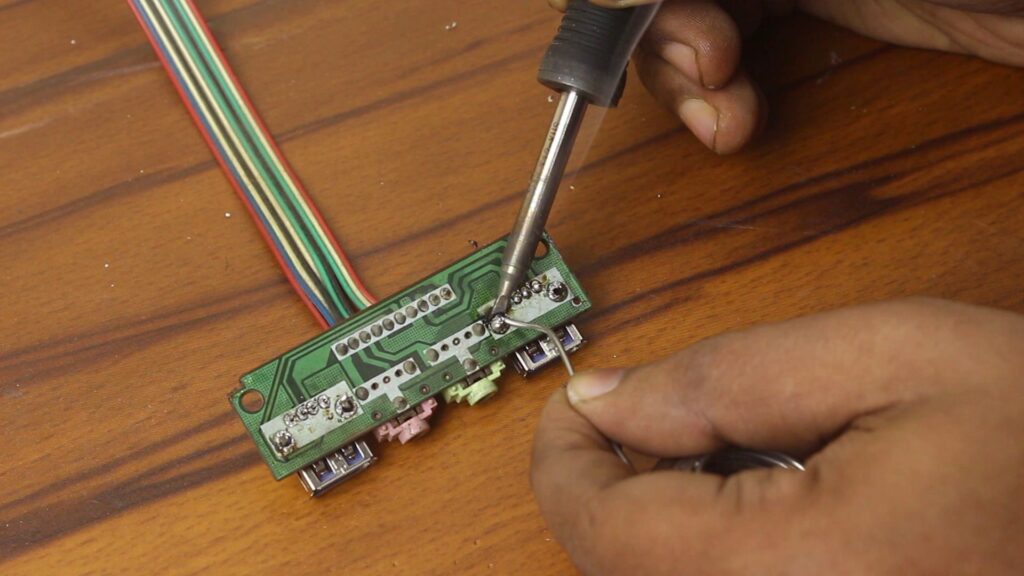
Next, I have pried the old USB socket from the PCB. Then, I have placed the replacement USB Type-A socket in that place and use a bit of solder paste on every pin of the socket.
Afterward, I have soldered each point just like before. And we are done.
As both USB ports are damaged on this PCB so, I have repeated all the steps I have performed before.
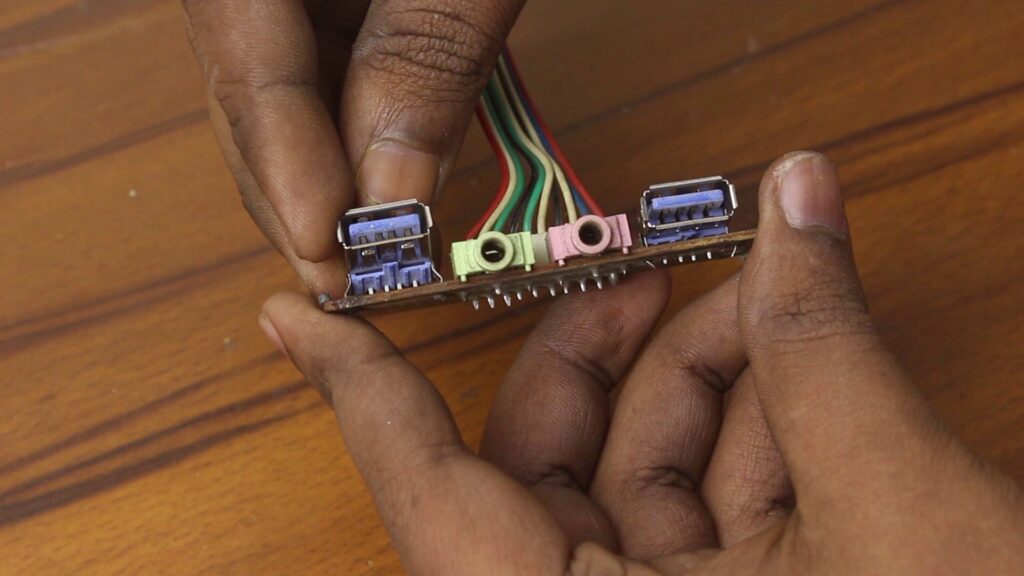
Now all the USB ports are replaced and fixed.
After soldering, it’s better to use a multimeter to verify there’s no short circuit between the pins.
Let’s Assemble the PC
After the replacement, all we have to do is to assemble everything. This process is quite similar to the disassembling process. Just here, everything is in reverse.
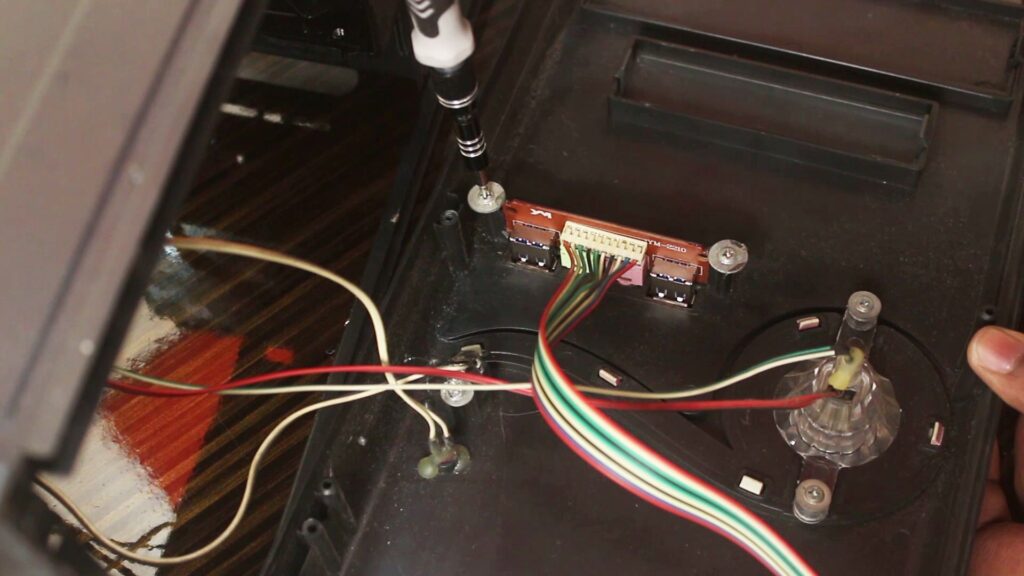
First of all, I have placed the PCB into its respective location and screwed it down with the plastic body. After that I have even applied a bit of hot glue to give it a bit of extra strength as this chassis is almost 10 years old.
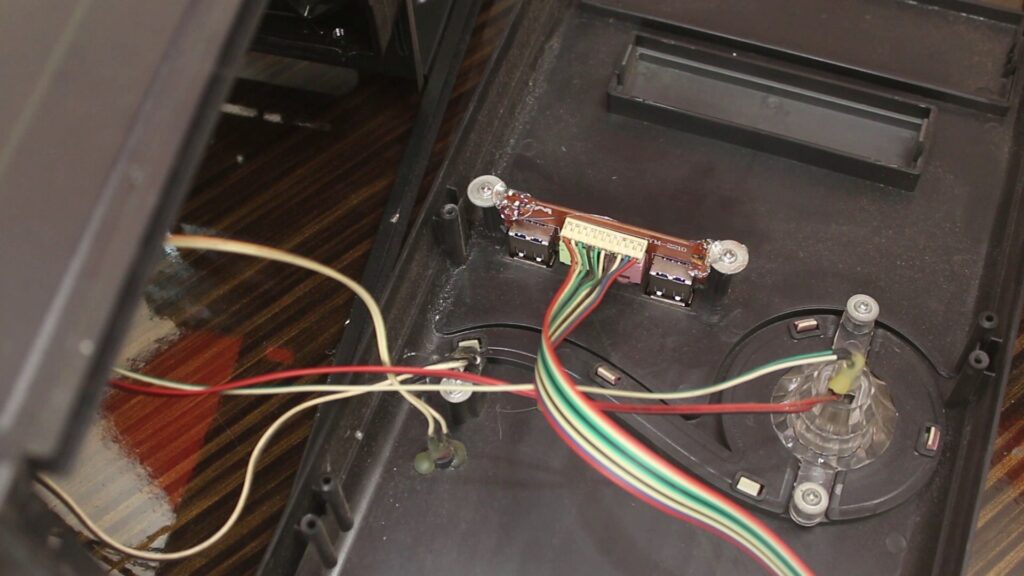
Ok now, I have put the front plastic structure into its location and tightened all the screws. Next, I have connected all the front IOs mainly USB and Audio connectors to the motherboard. Lastly, I have closed the lid of the PC chassis and screw it with the body.
Are the USB Ports Working Correctly?
After assembling, I have connected the power cord and the peripherals with the PC and started the testing procedure. As it is a USB 2.0 port, I have connected a hard drive and waited to see what will happen.
Yes, as expected, the hard drive has detected no disconnection at all and I can read and write data from the hard drive. I can acquire the USB 2.0 speed from the hard drive. So this project is successful.
Read Now: How to Enter BIOS/UEFI in Windows 11
In the Concluding Lines…
In the end, here is a pro tip: if you are removing any connector from the motherboard then it’s a good practice to take a photo to remember its location so that when you will reconnect the connector later, you will not mess up and destroy the motherboard. So, hope you guys have learned a thing or two by replacing the USB port of the PC chassis. If so then don’t forget to express your thoughts in the comments section below. Thanks for visiting.